FREEFIX®

humeral fixation set

The next generation of distal and midshaft humerus fracture management

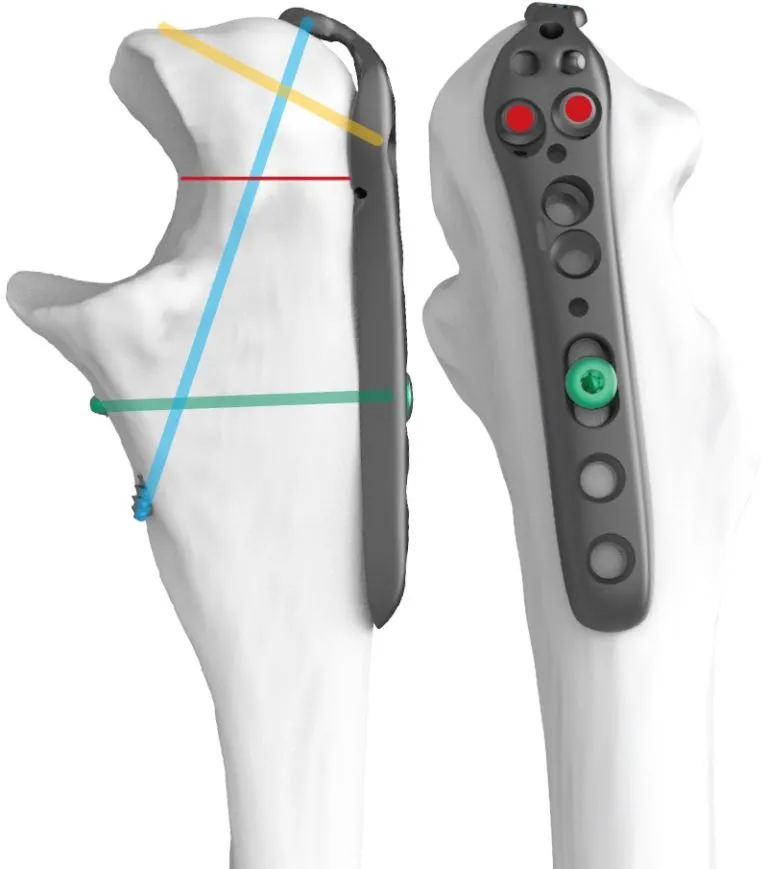
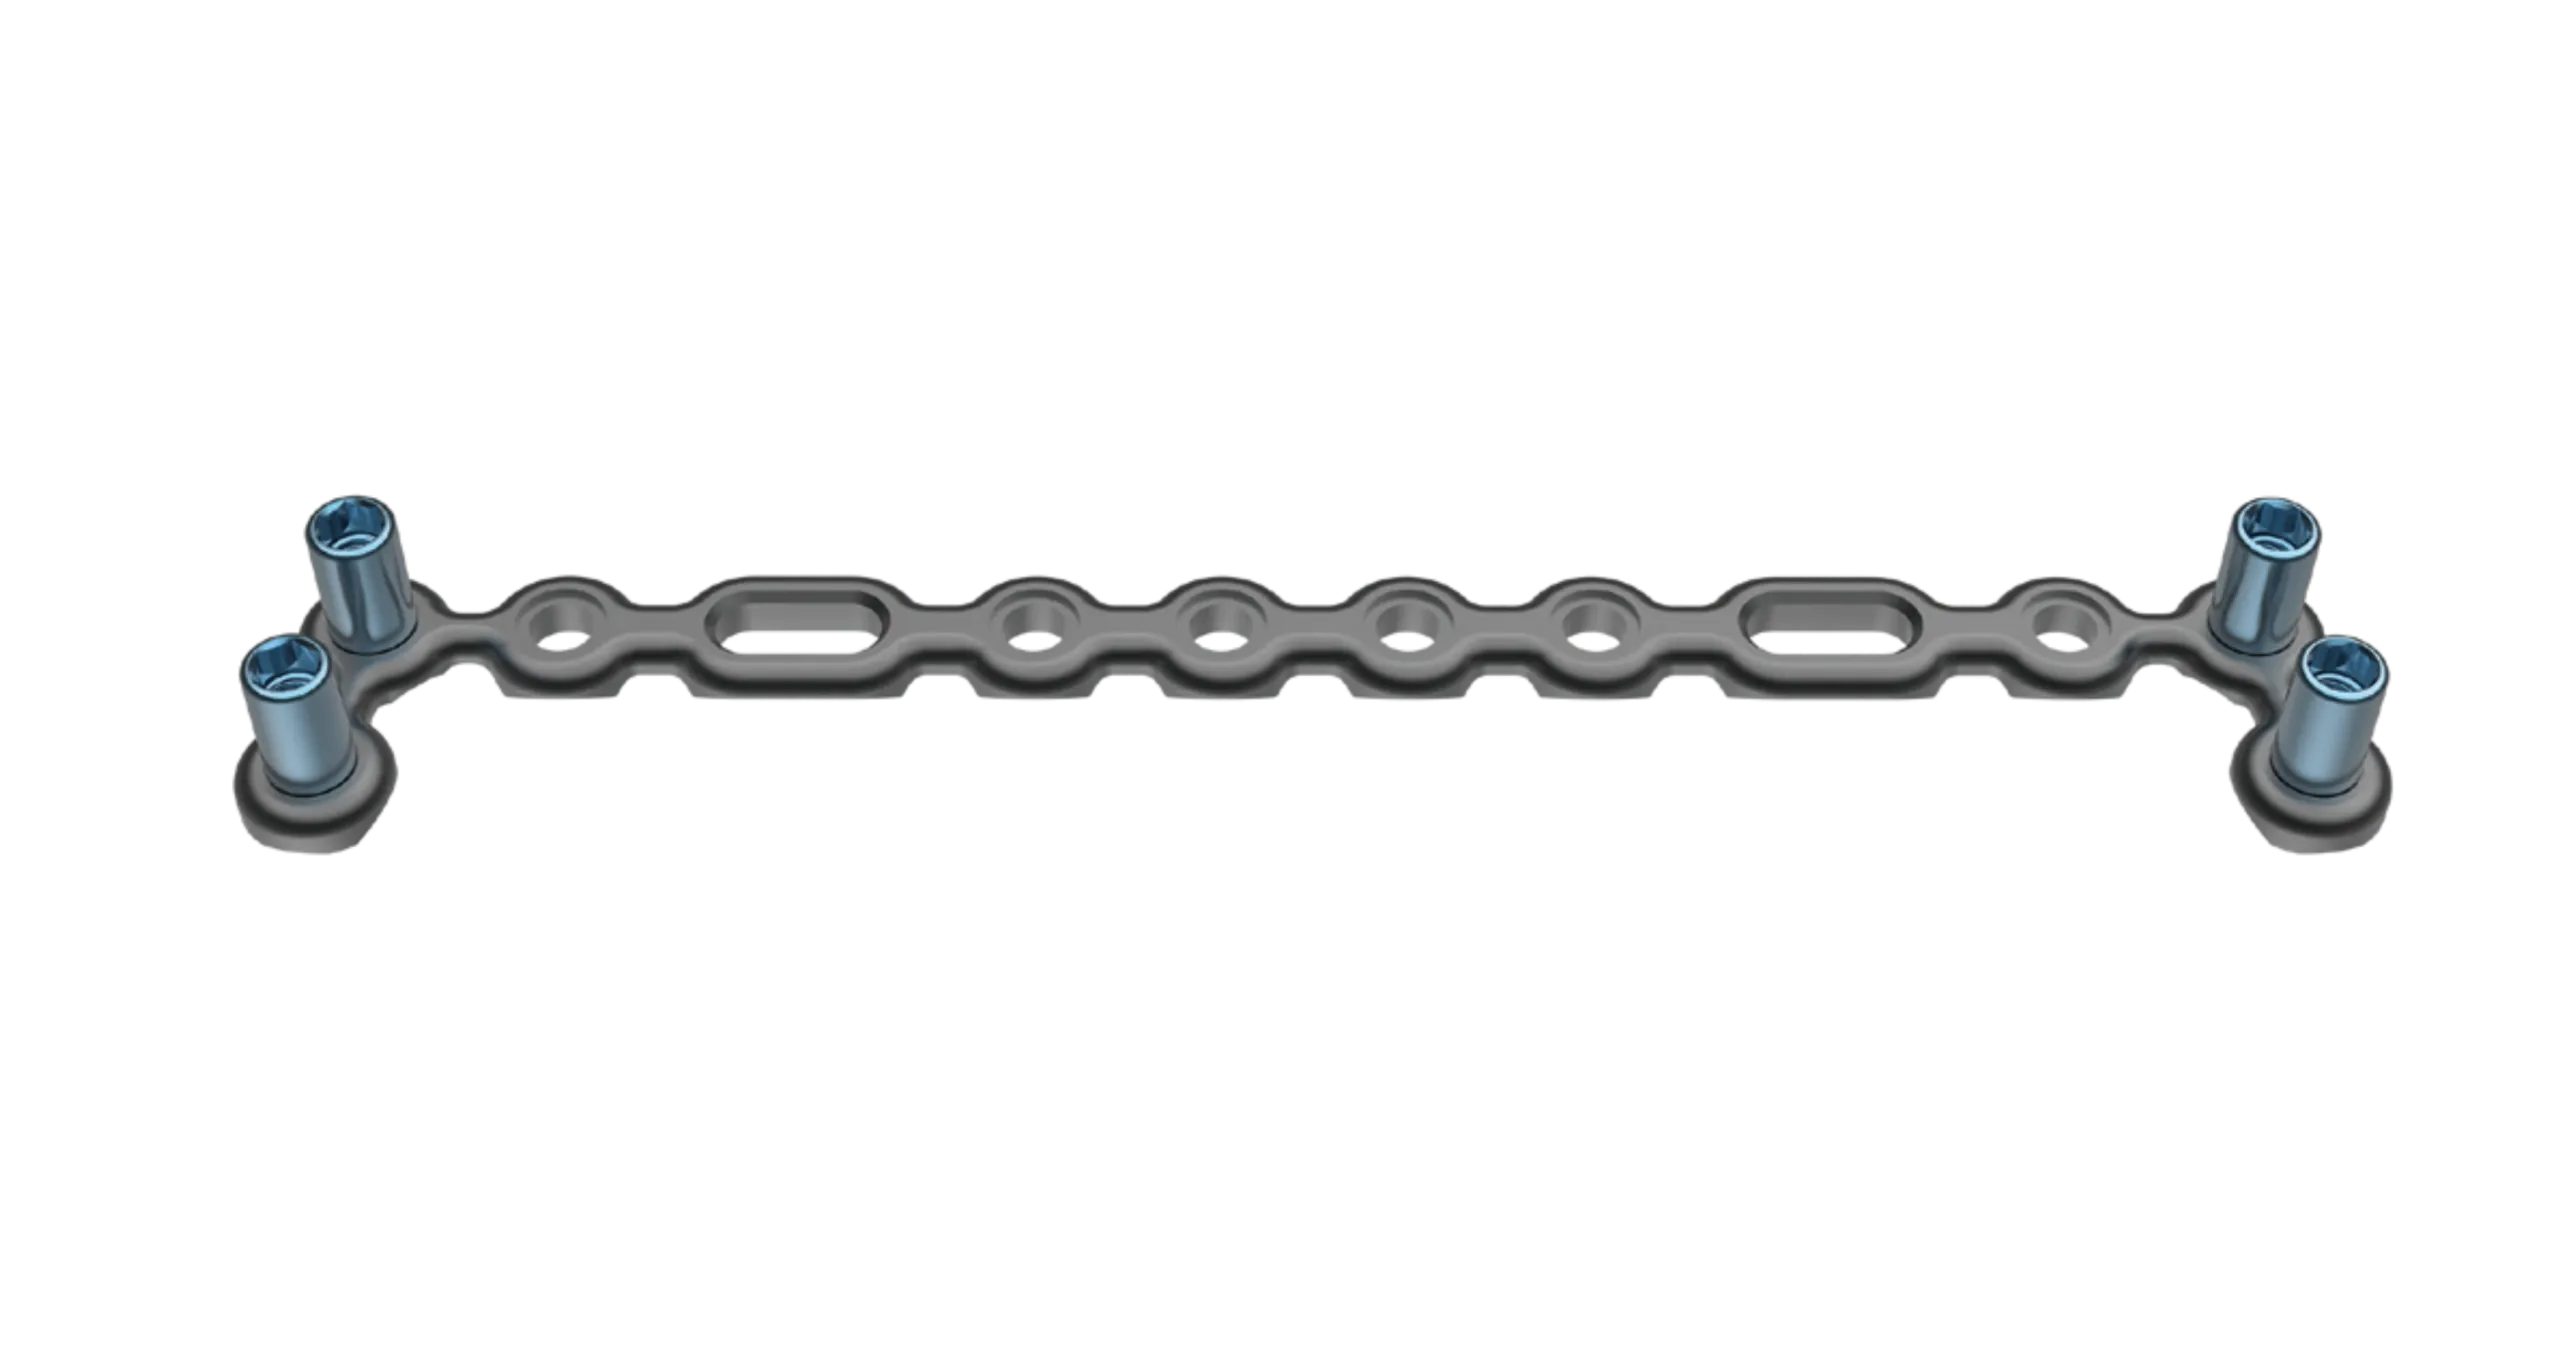
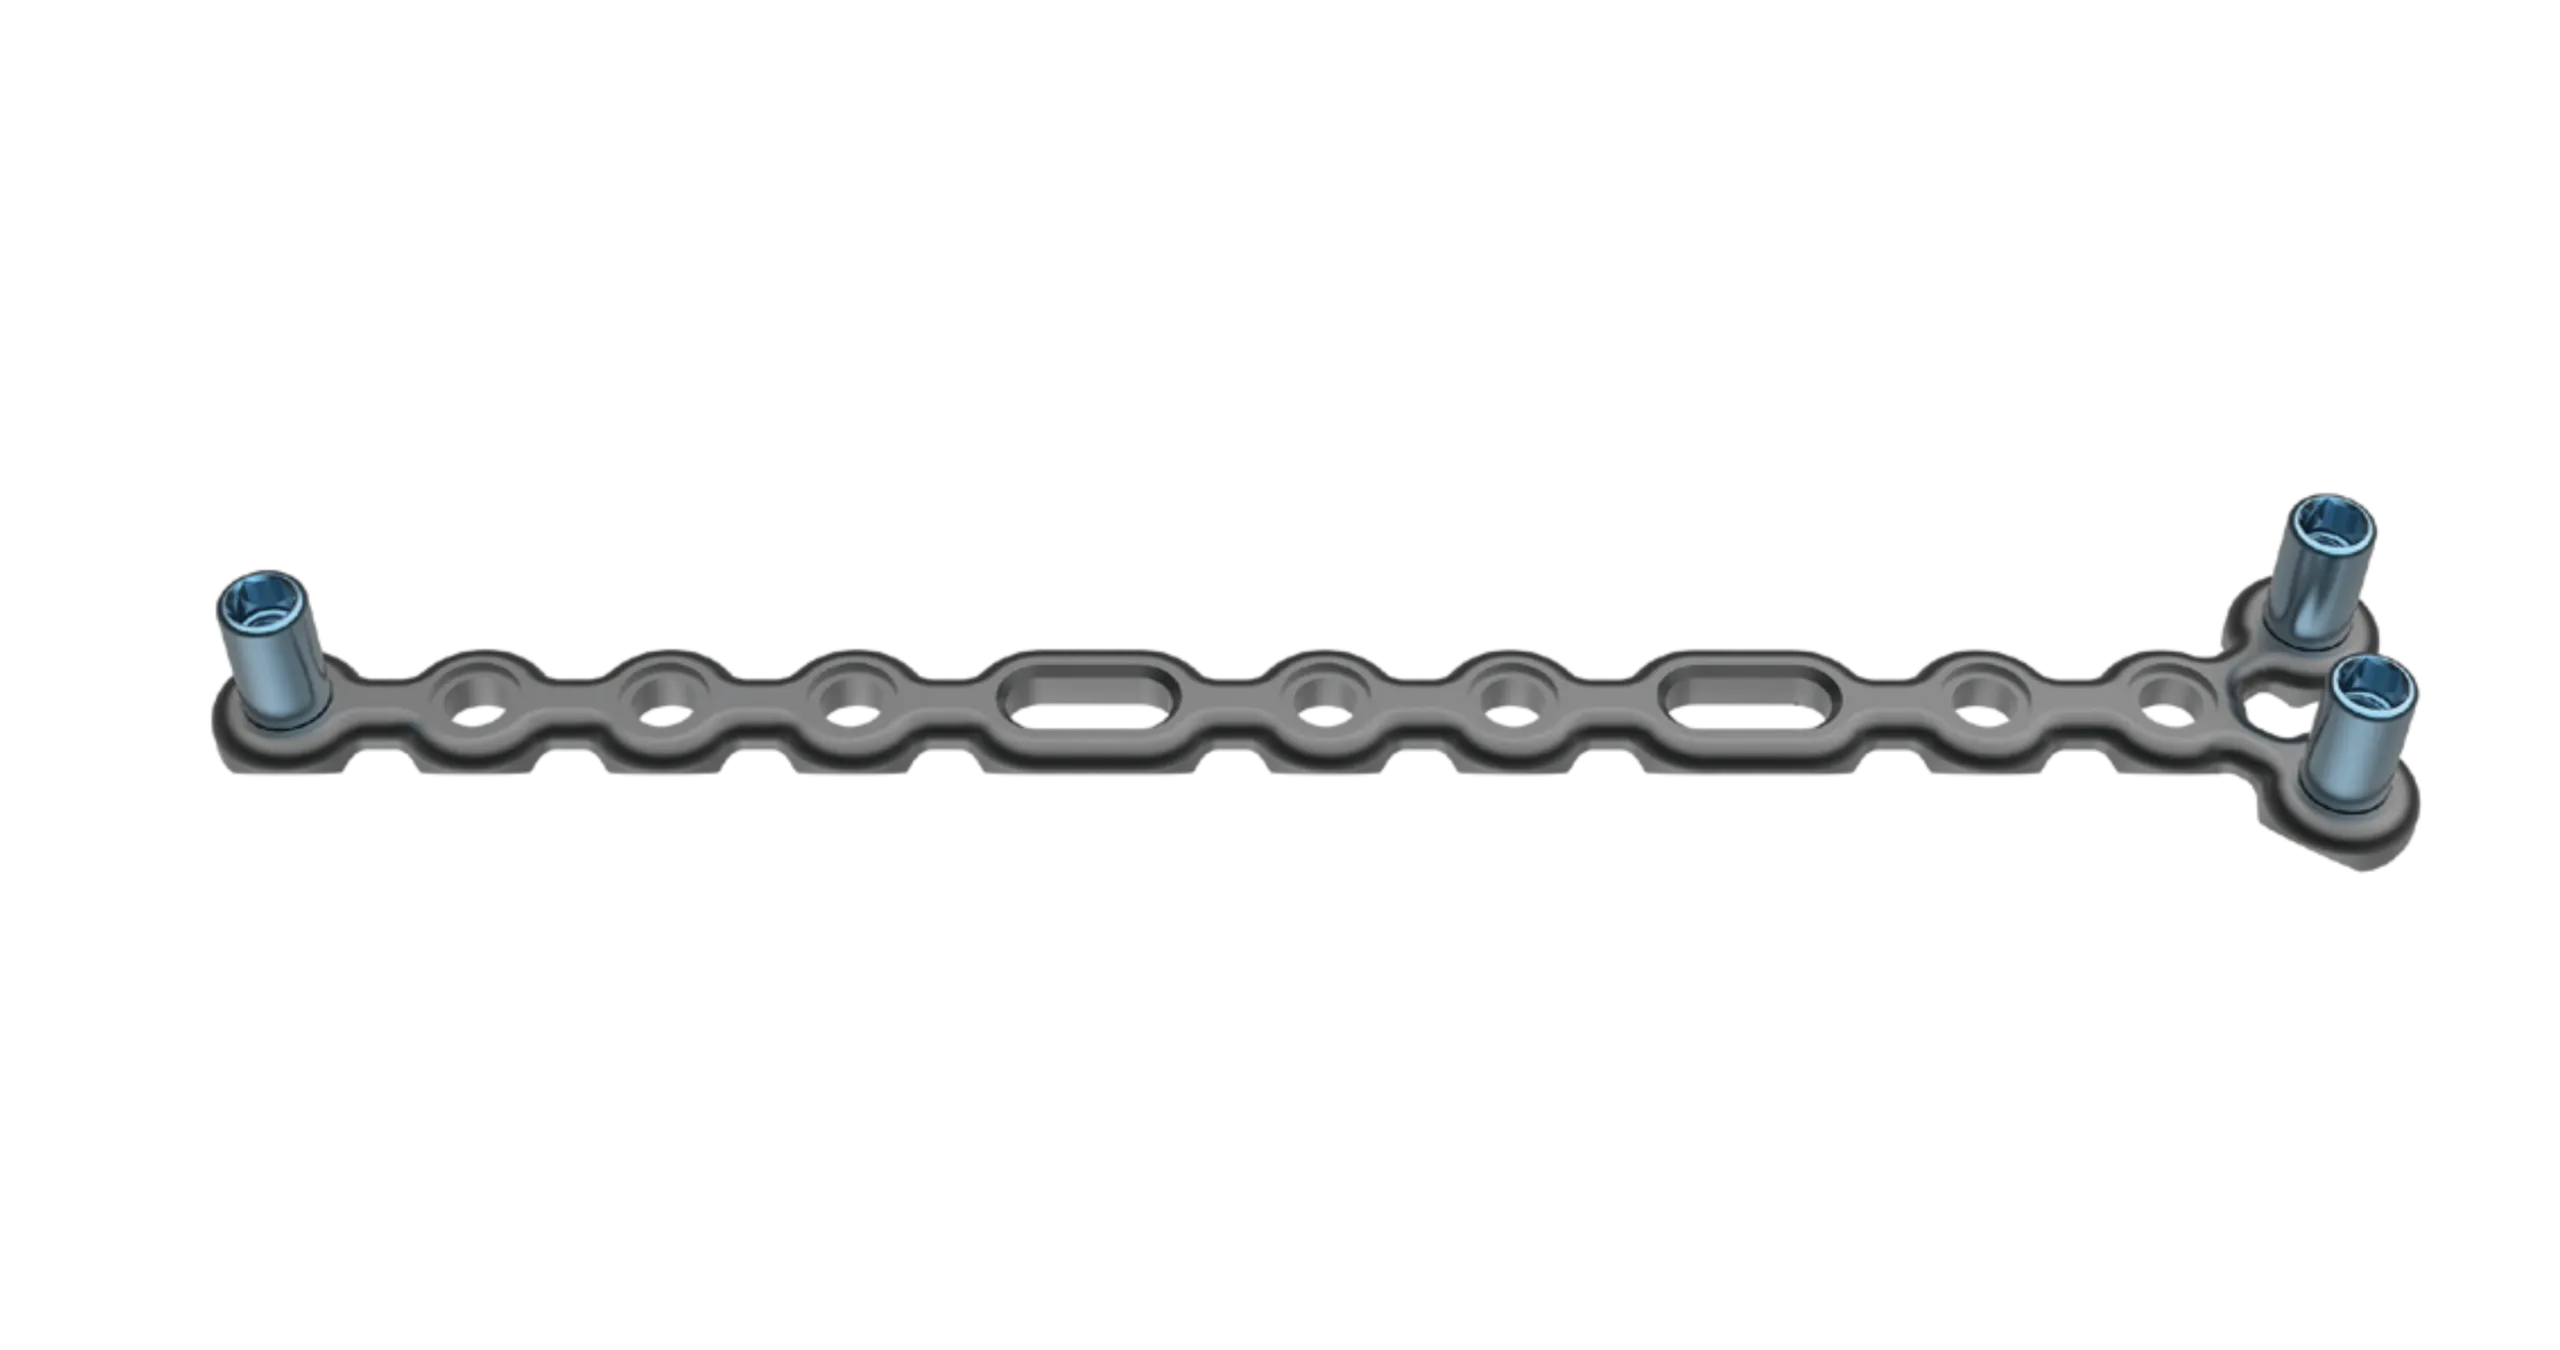
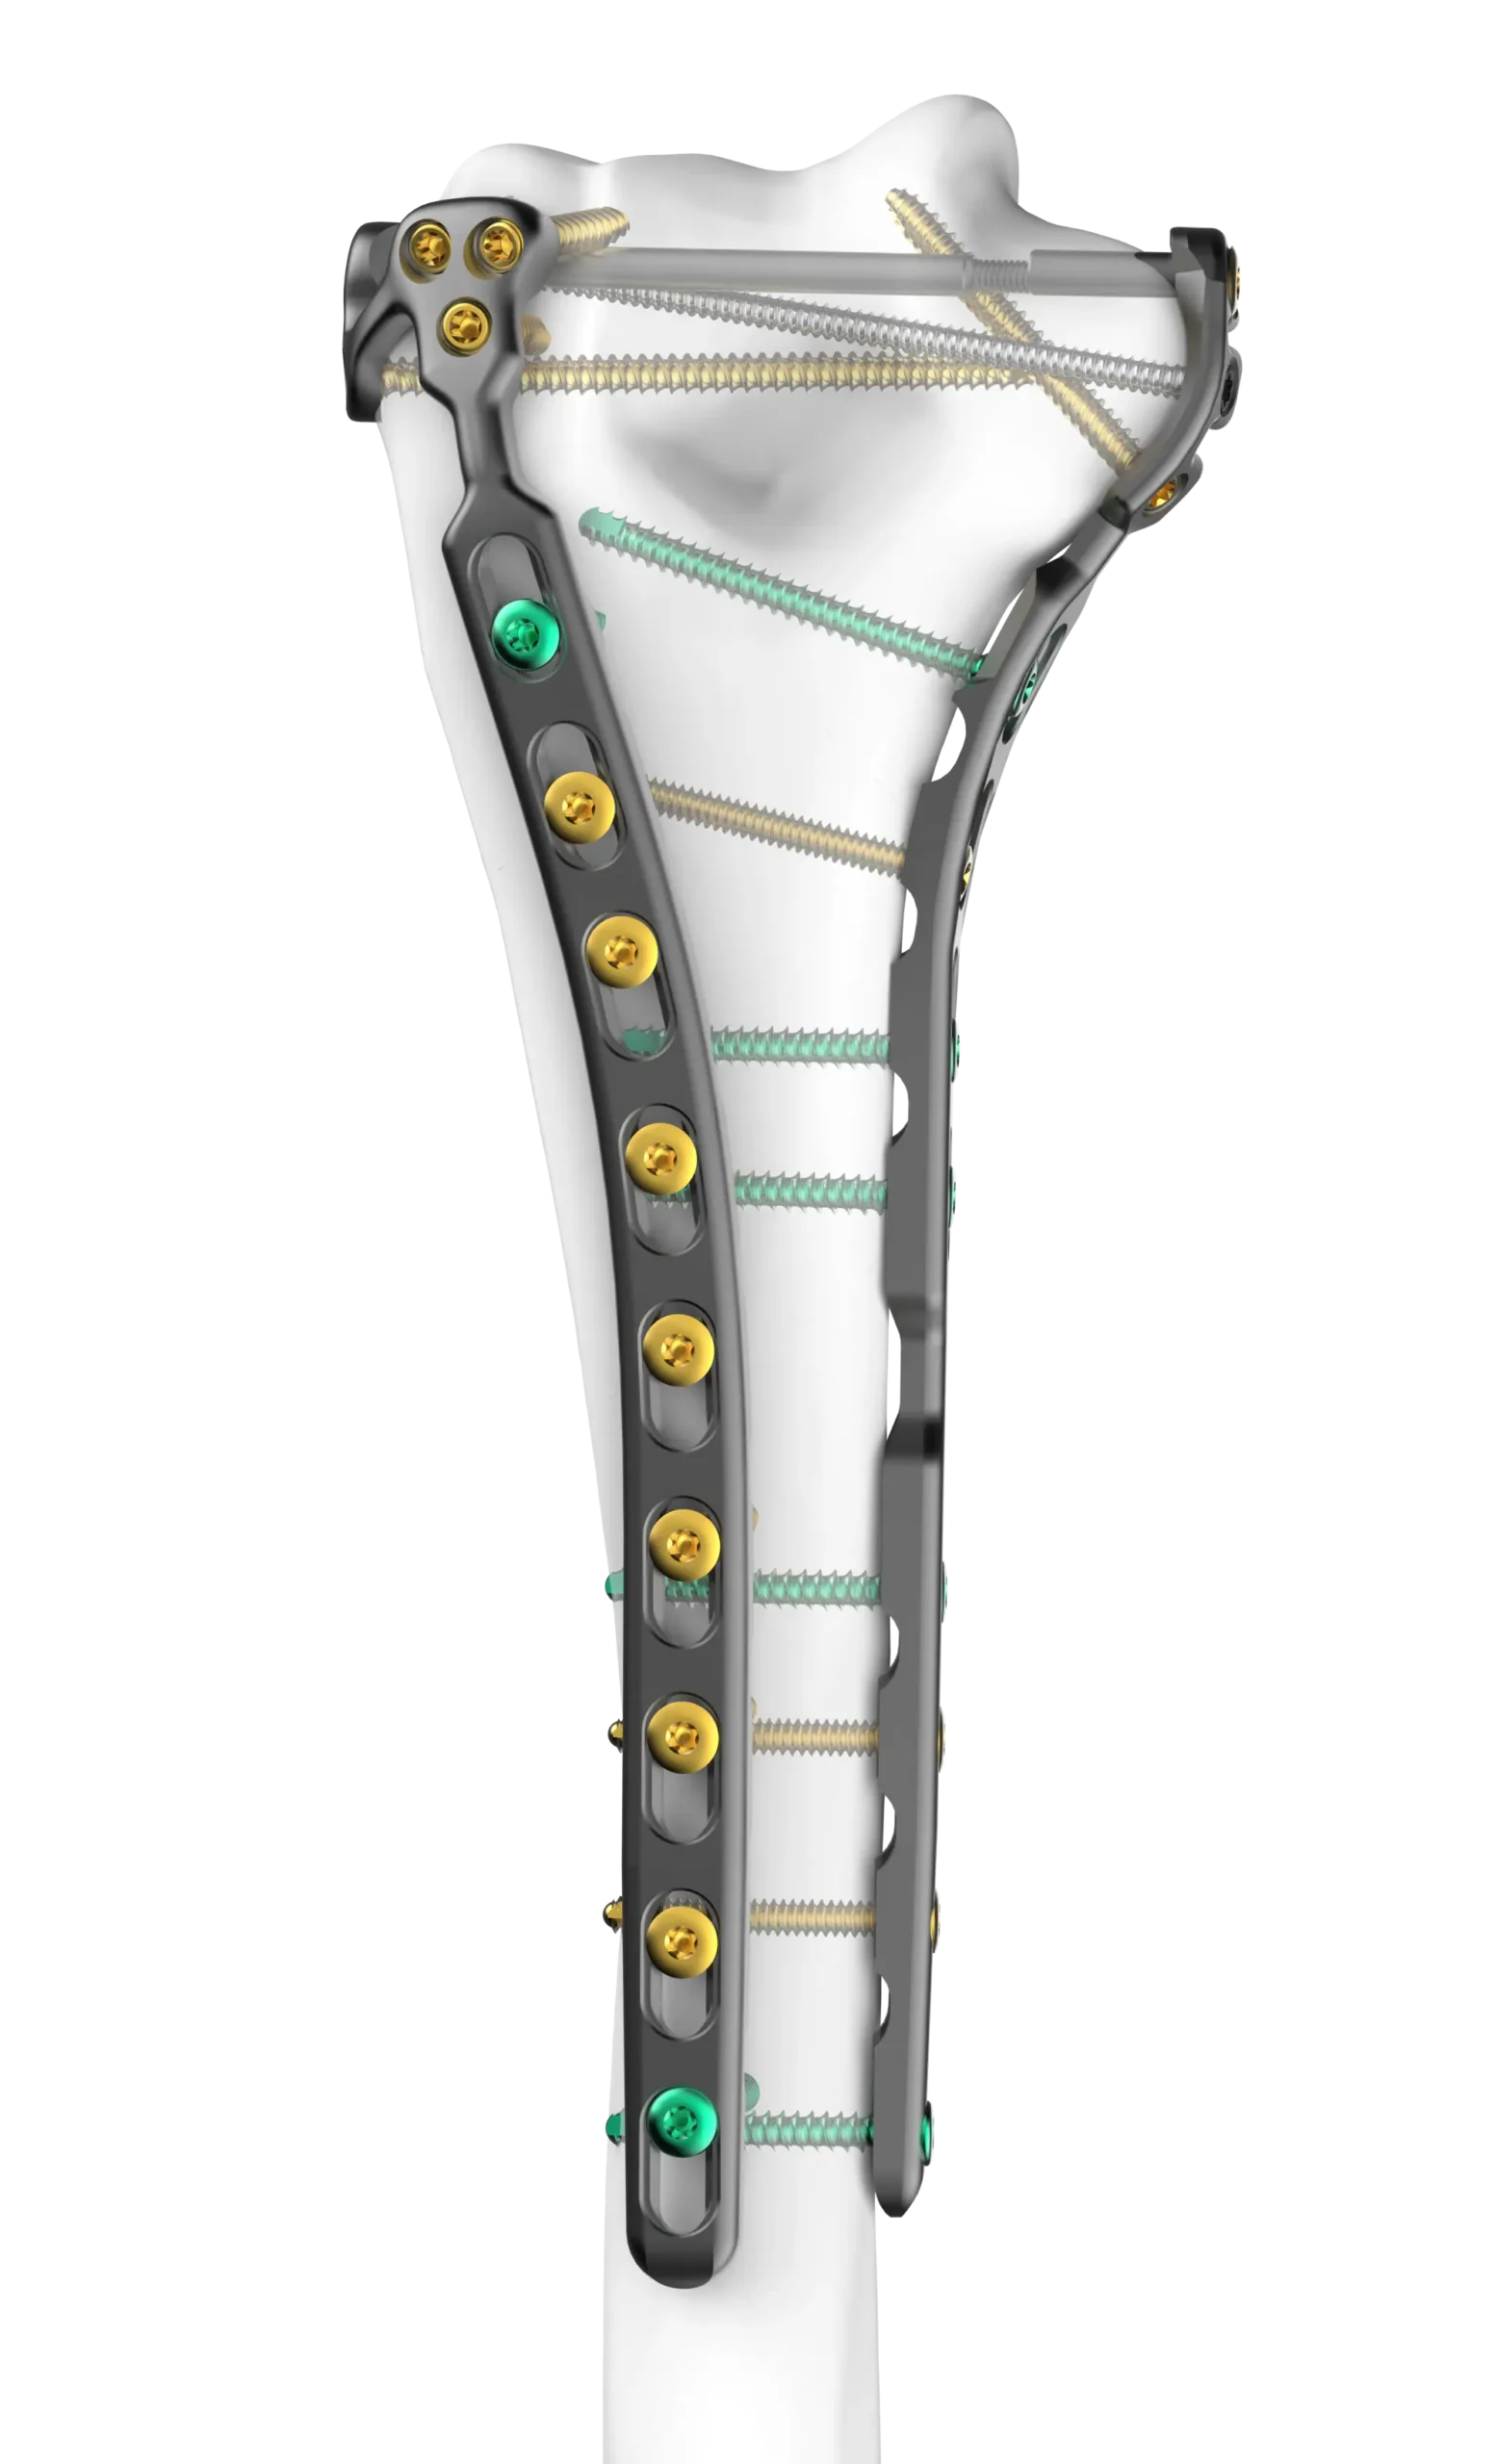
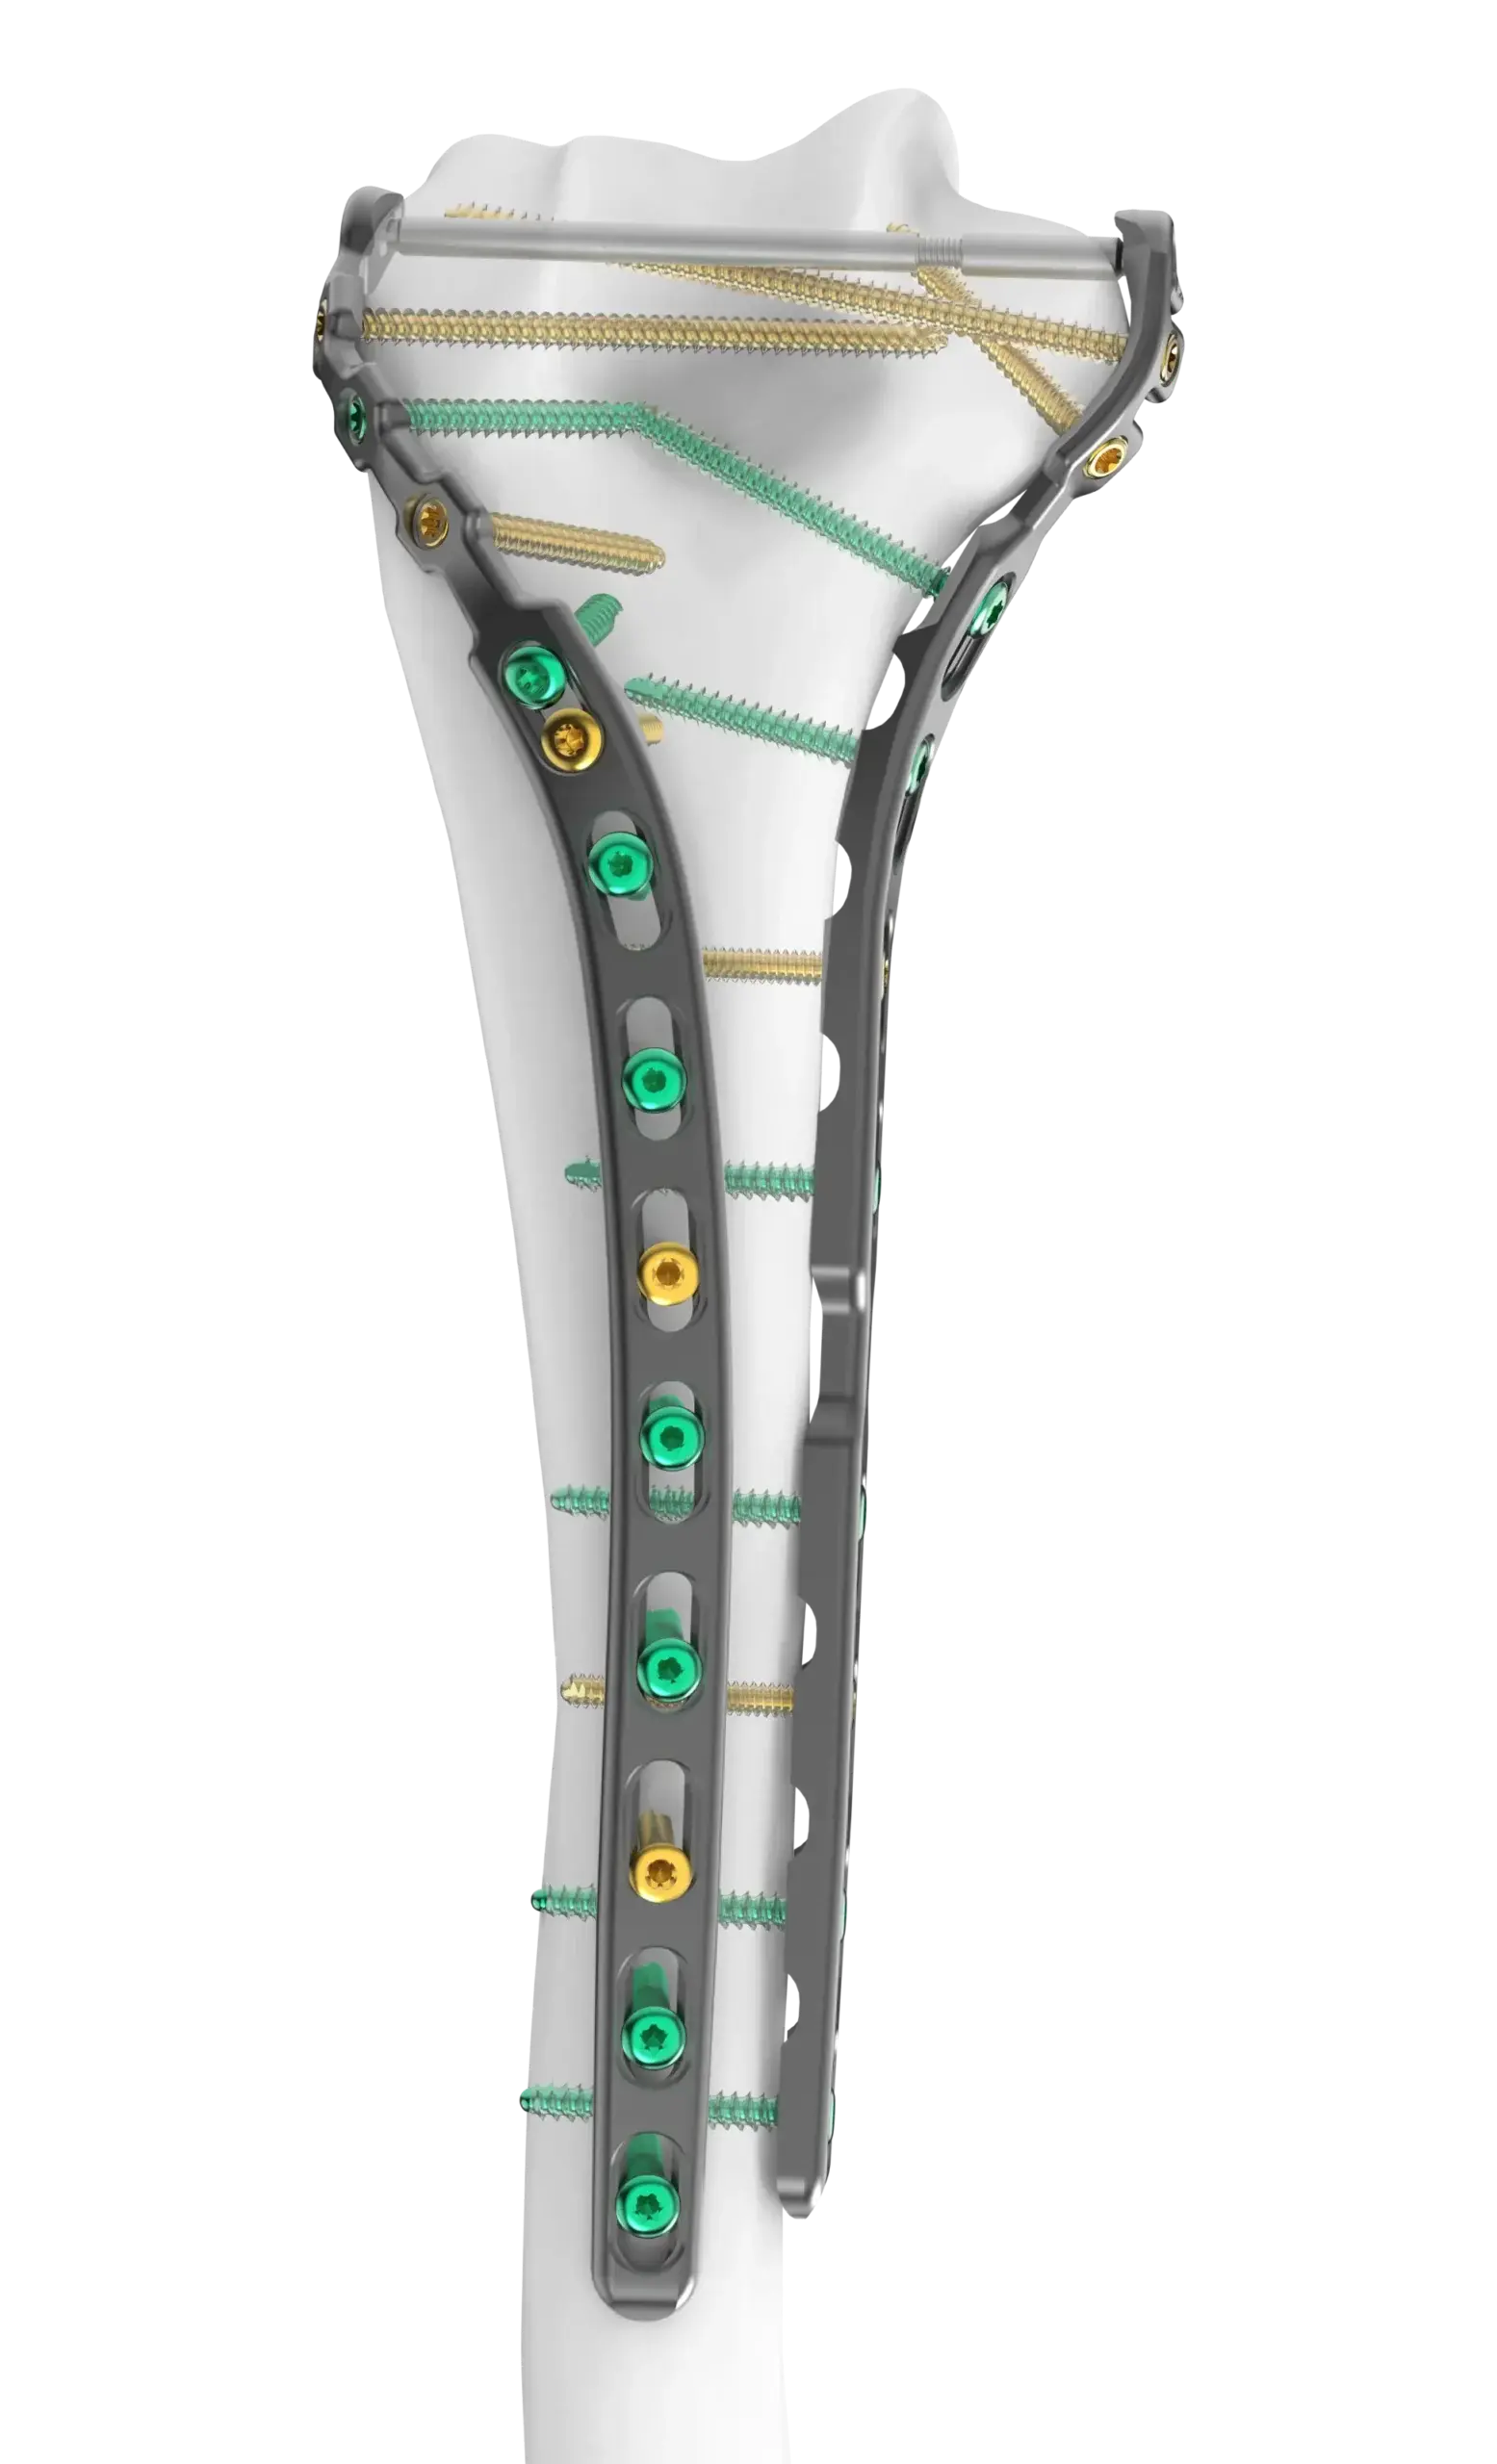
A true single, fixed angle construct

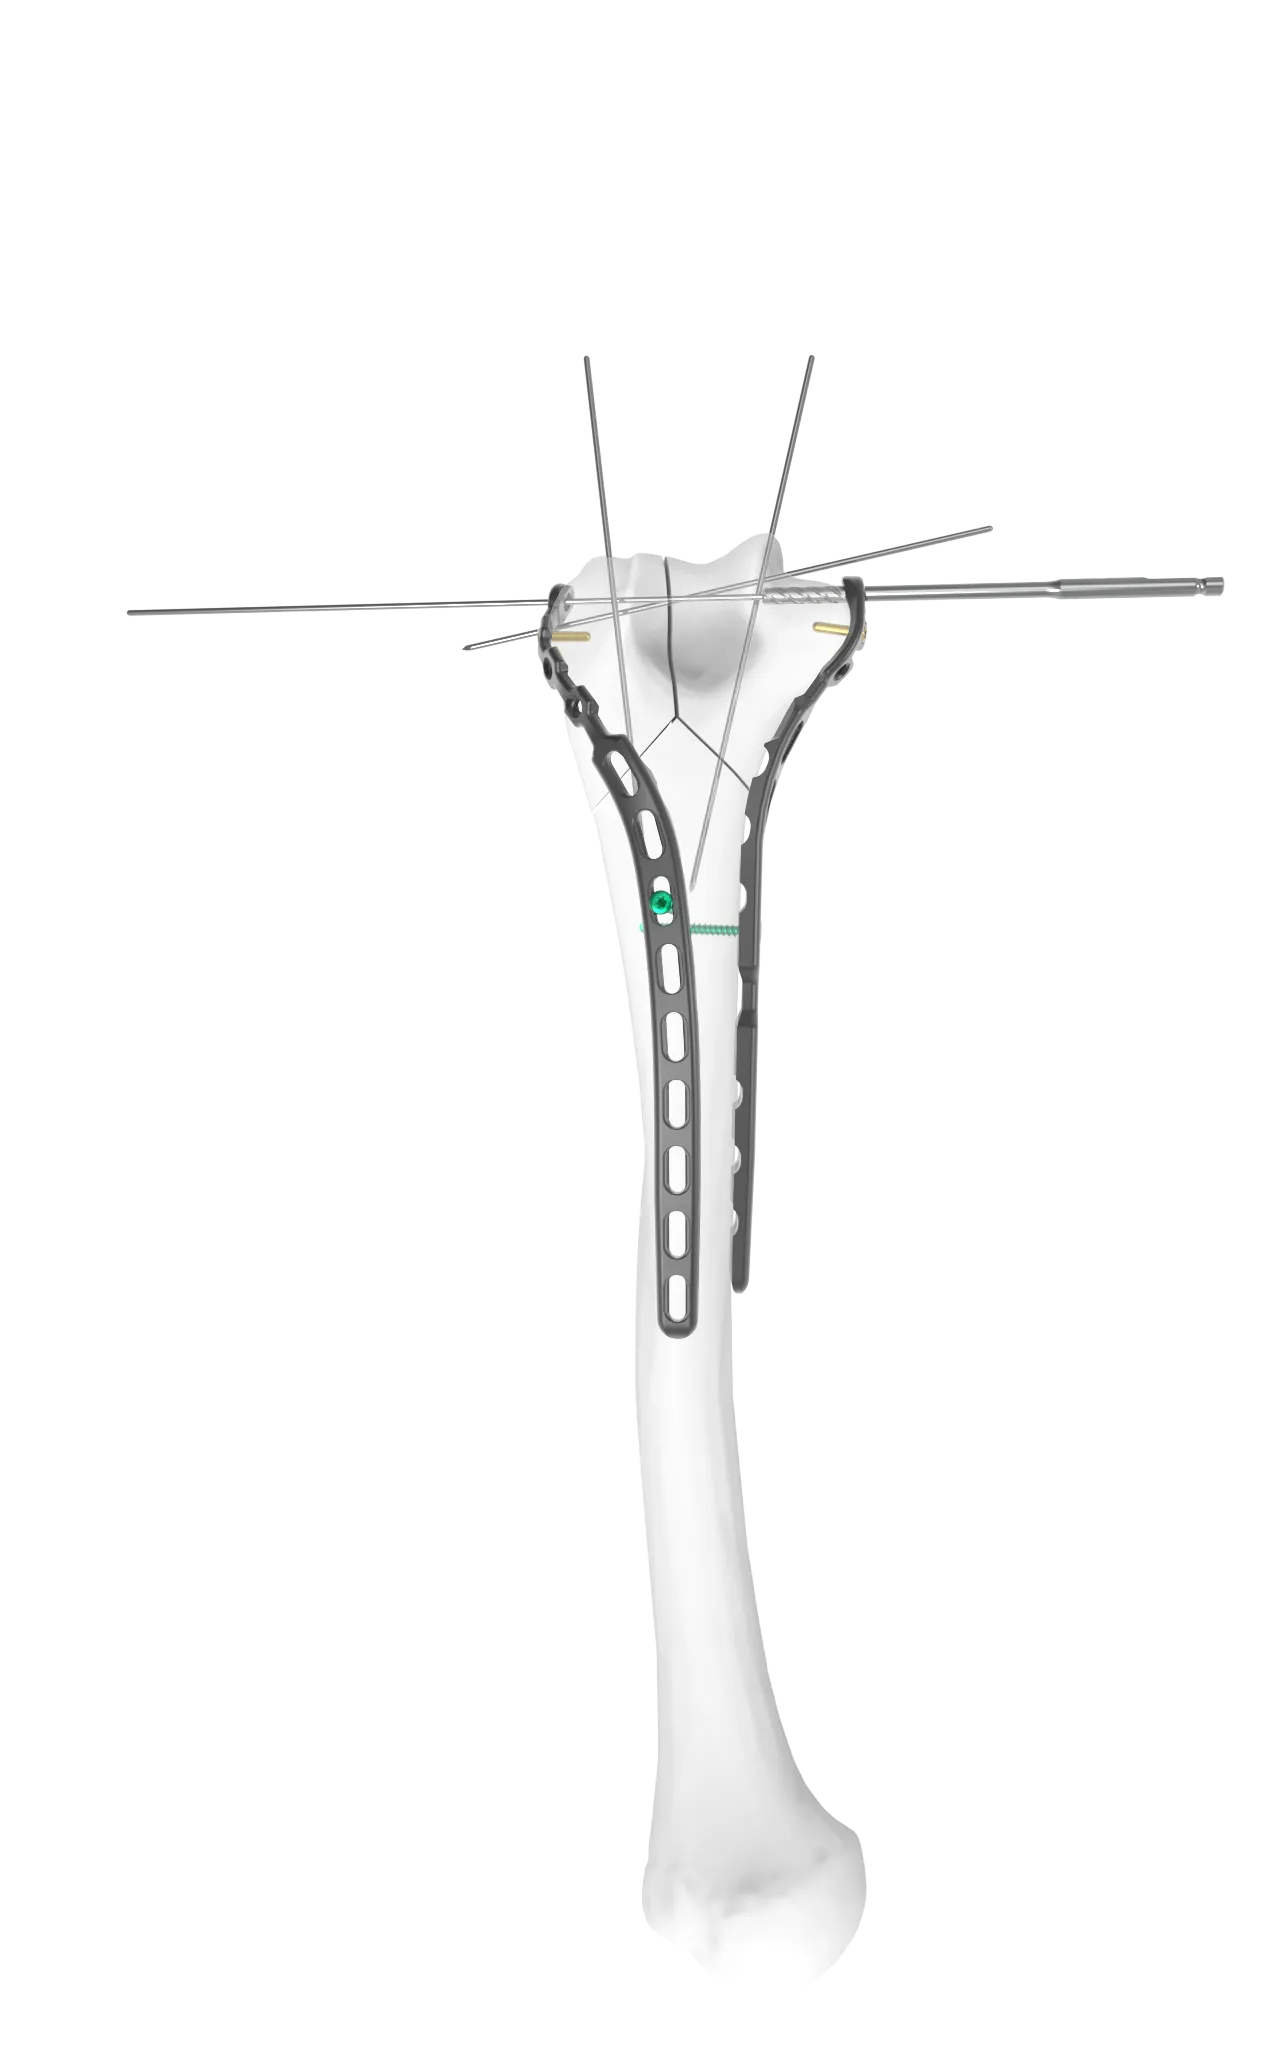
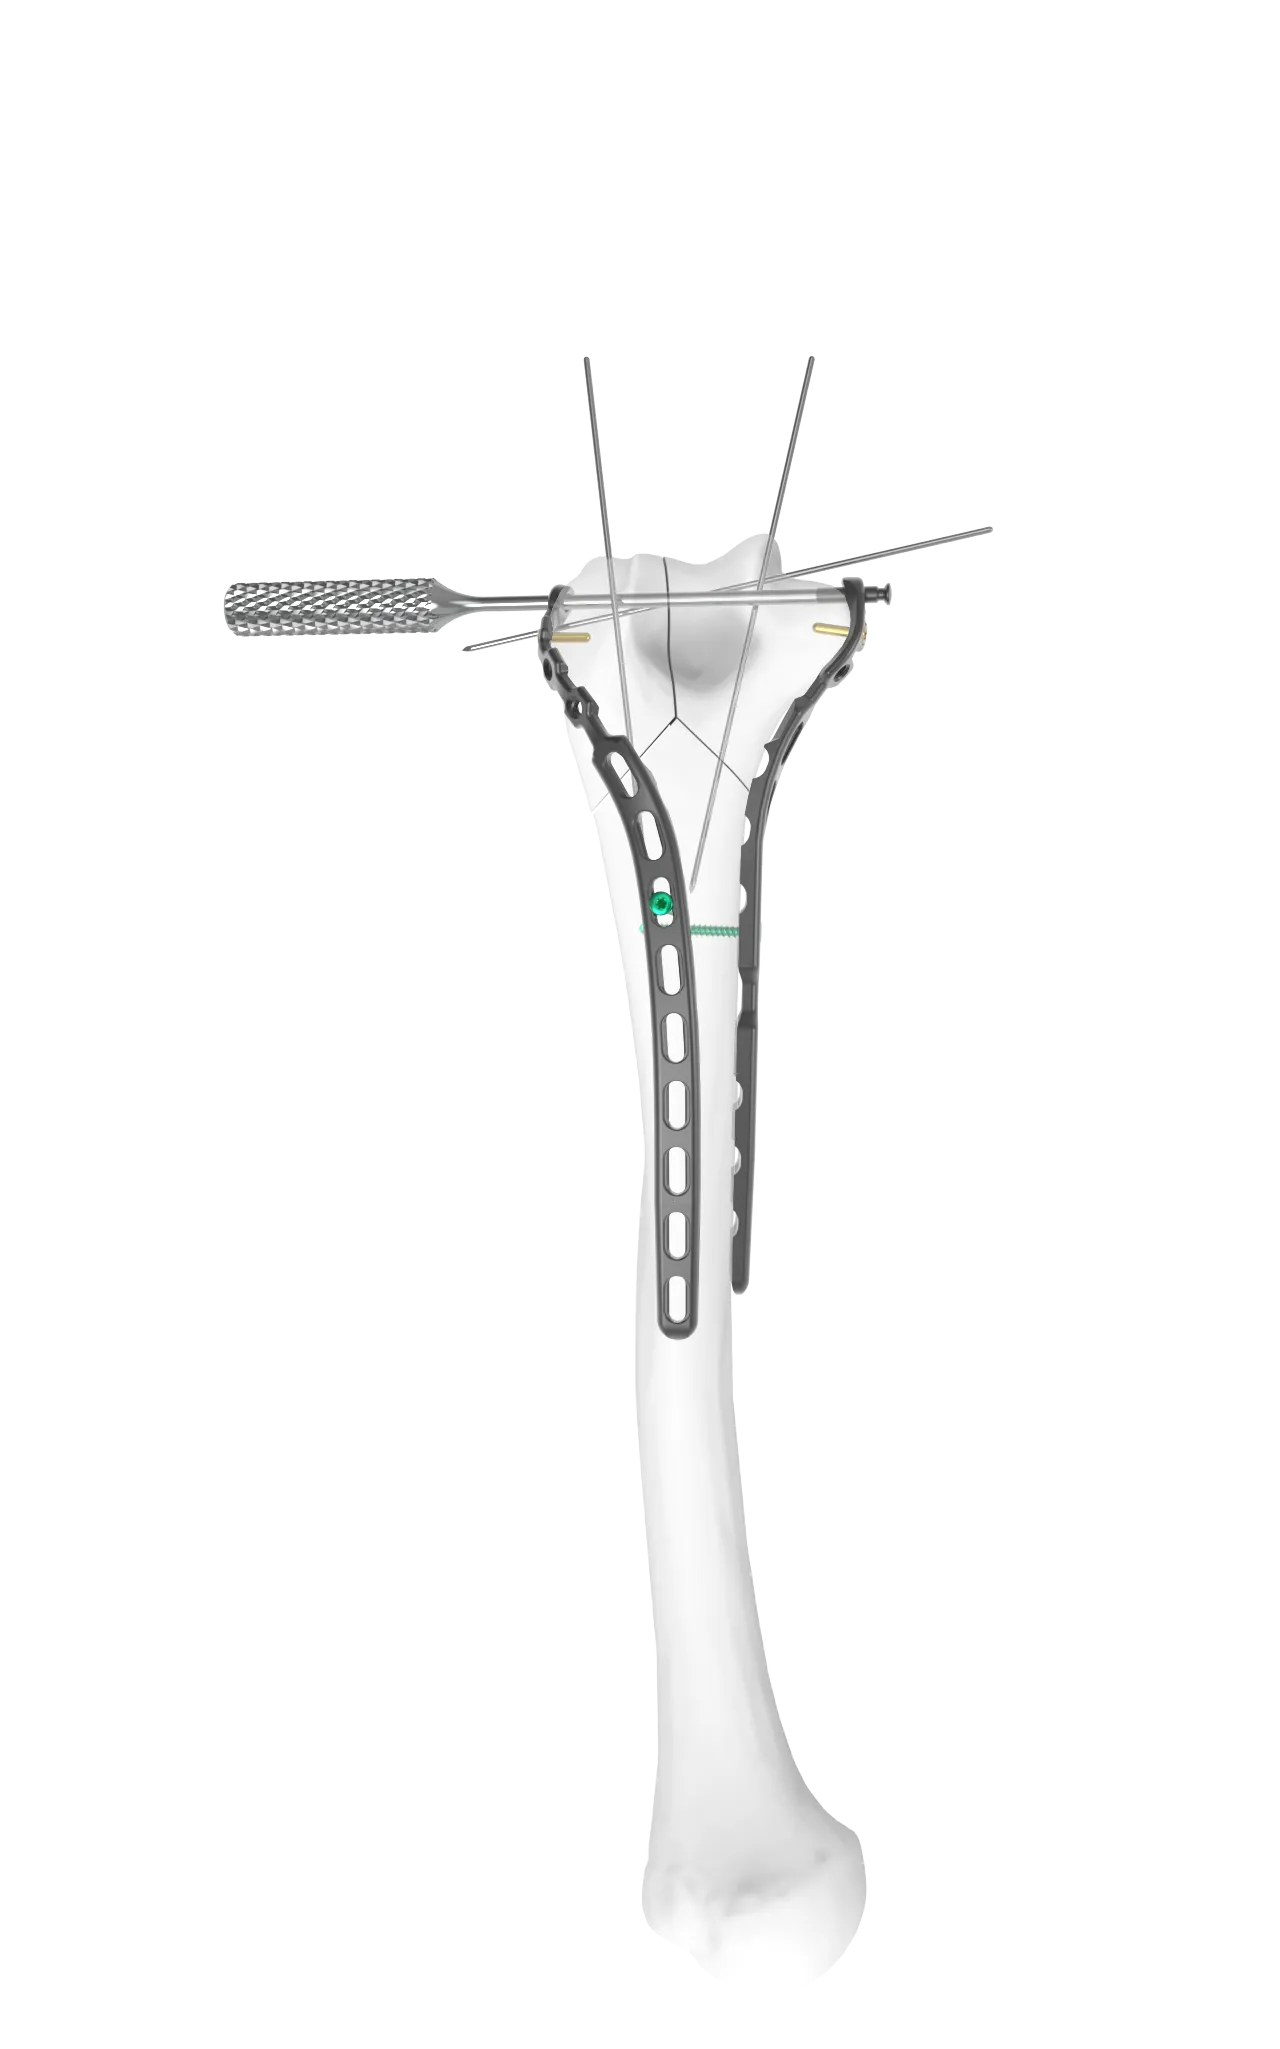
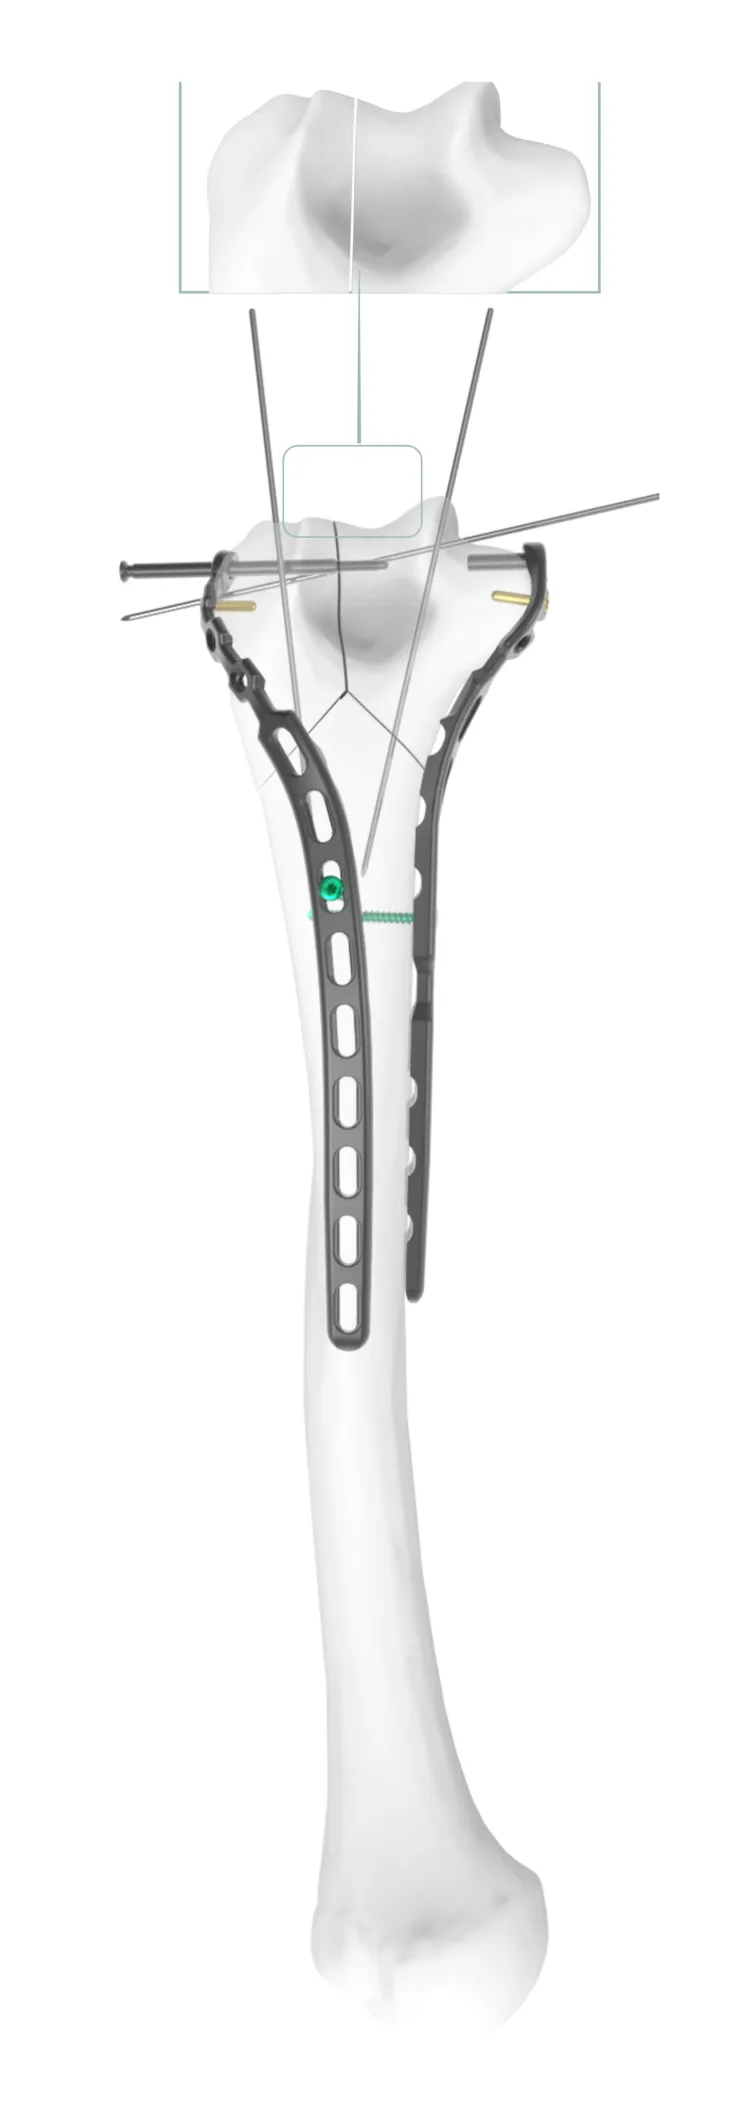
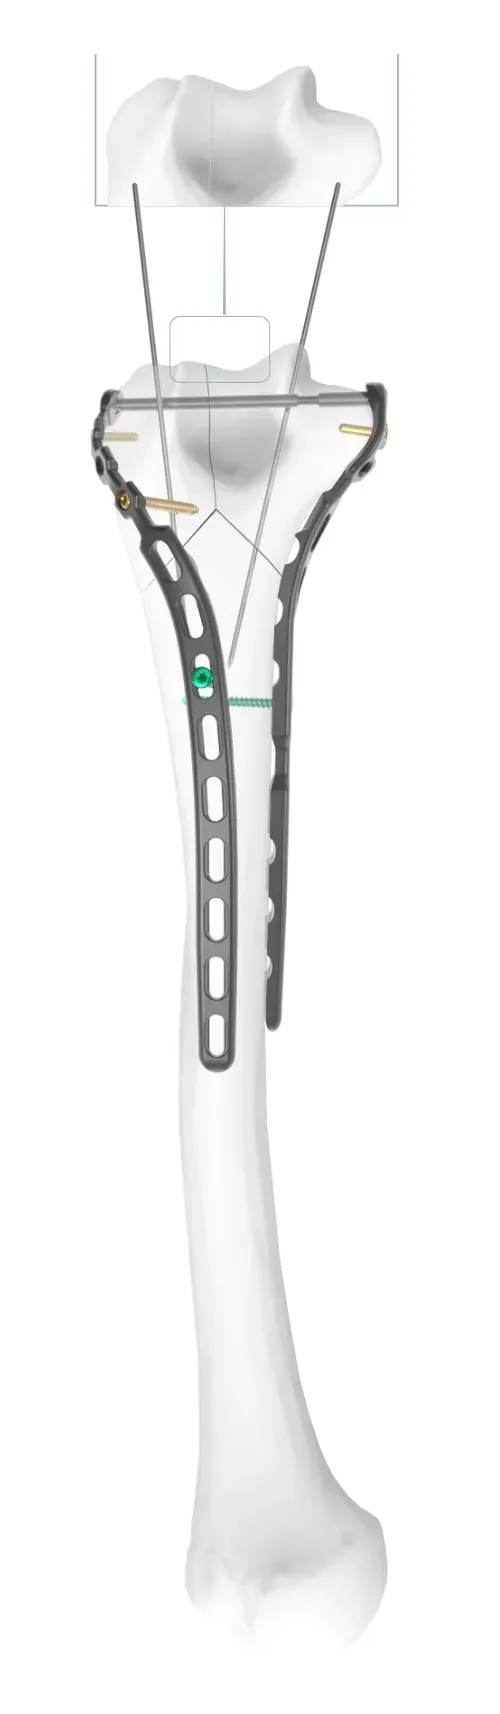
TiBeam® technology connects the medial and lateral plates to allow for compression across the trochlea

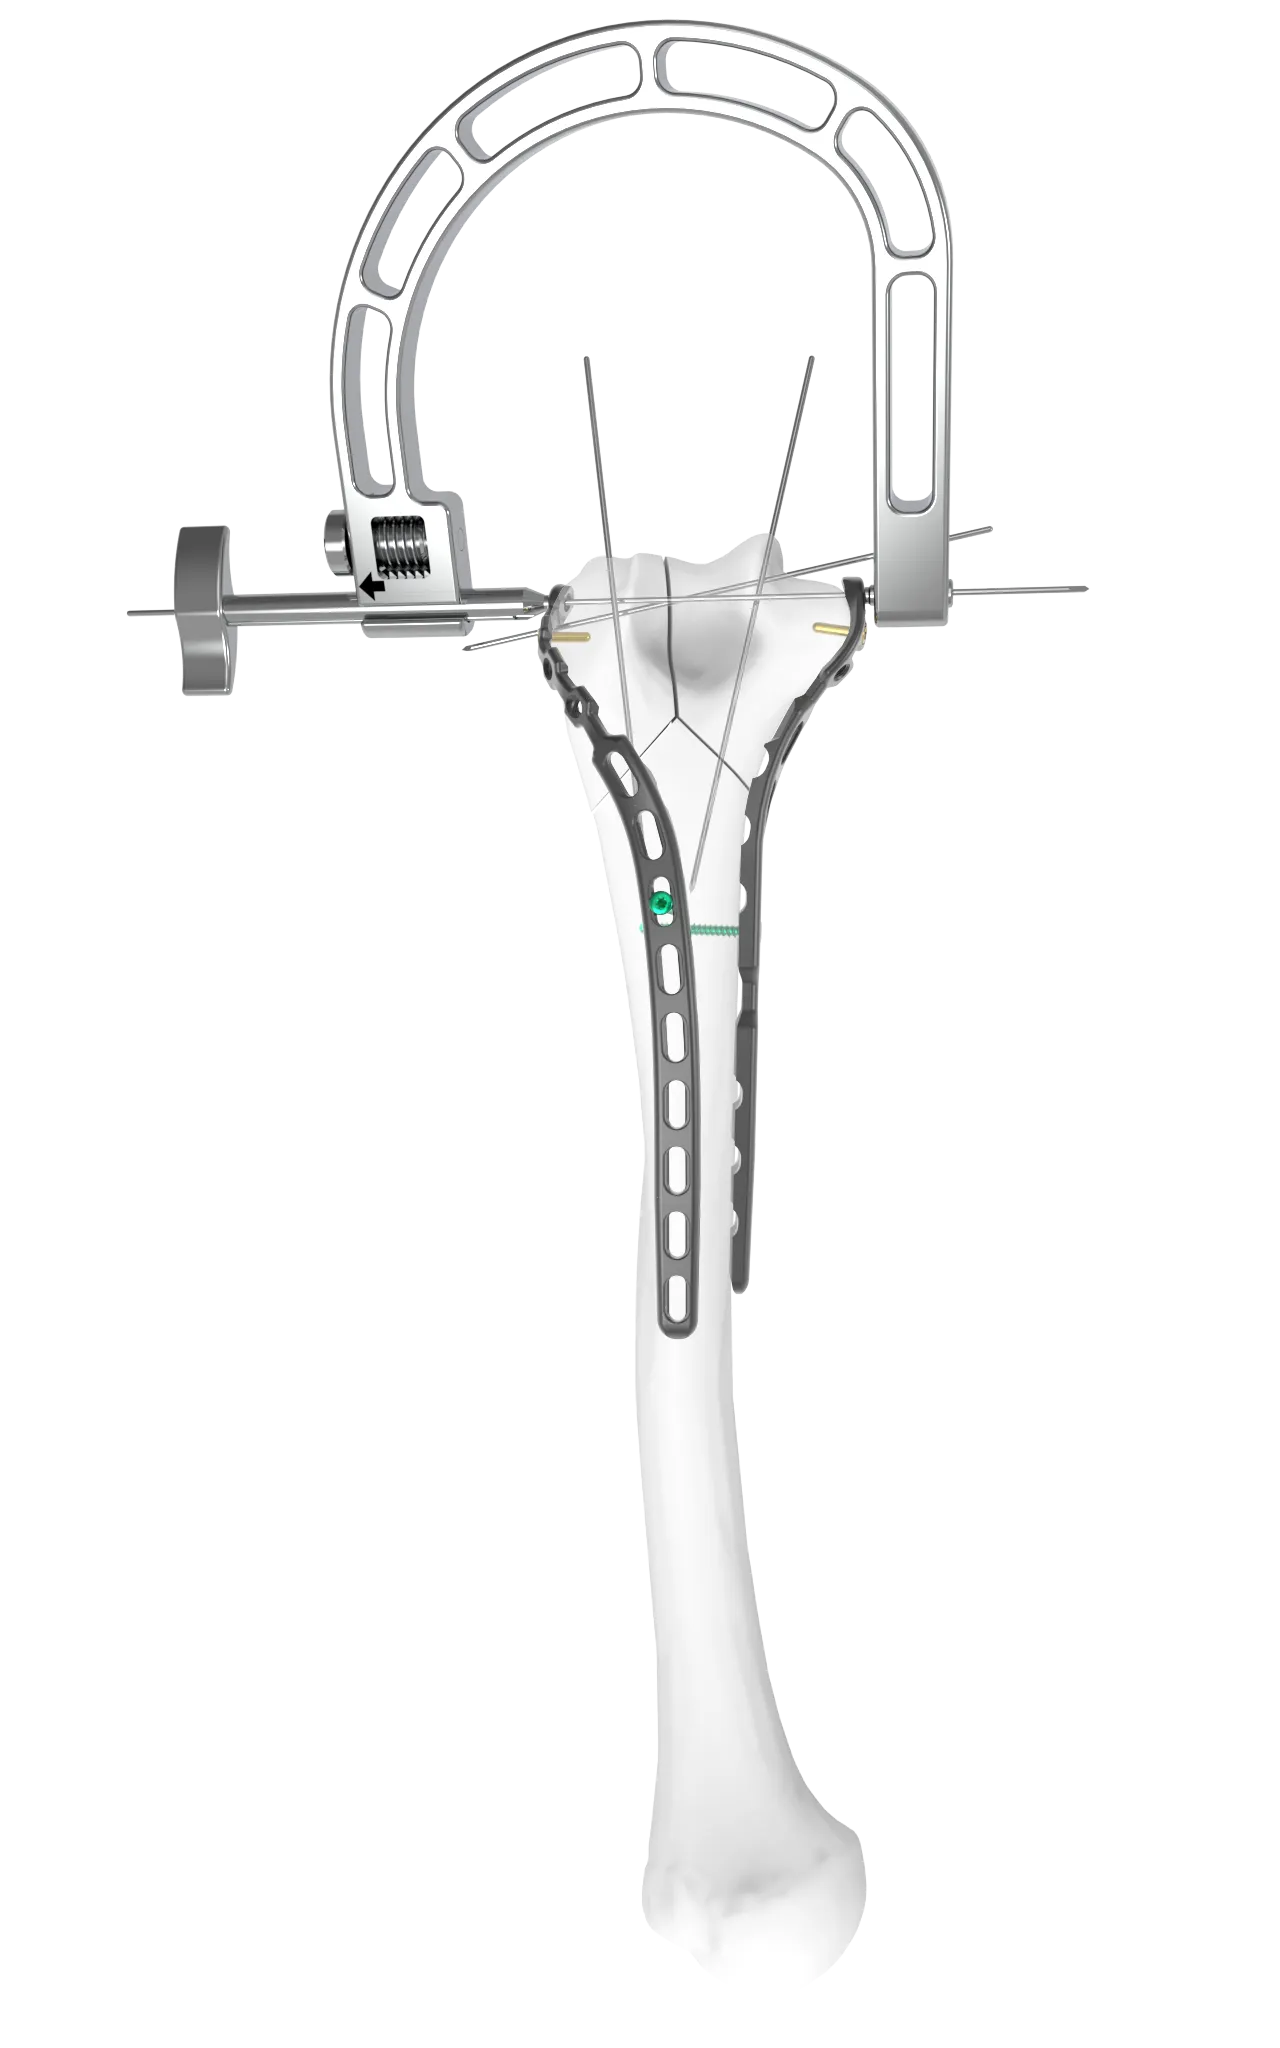
Step 1 of TiBeam® technology.

Use trajectory guide to place k-wire through the most distal holes of the medial and lateral plate.

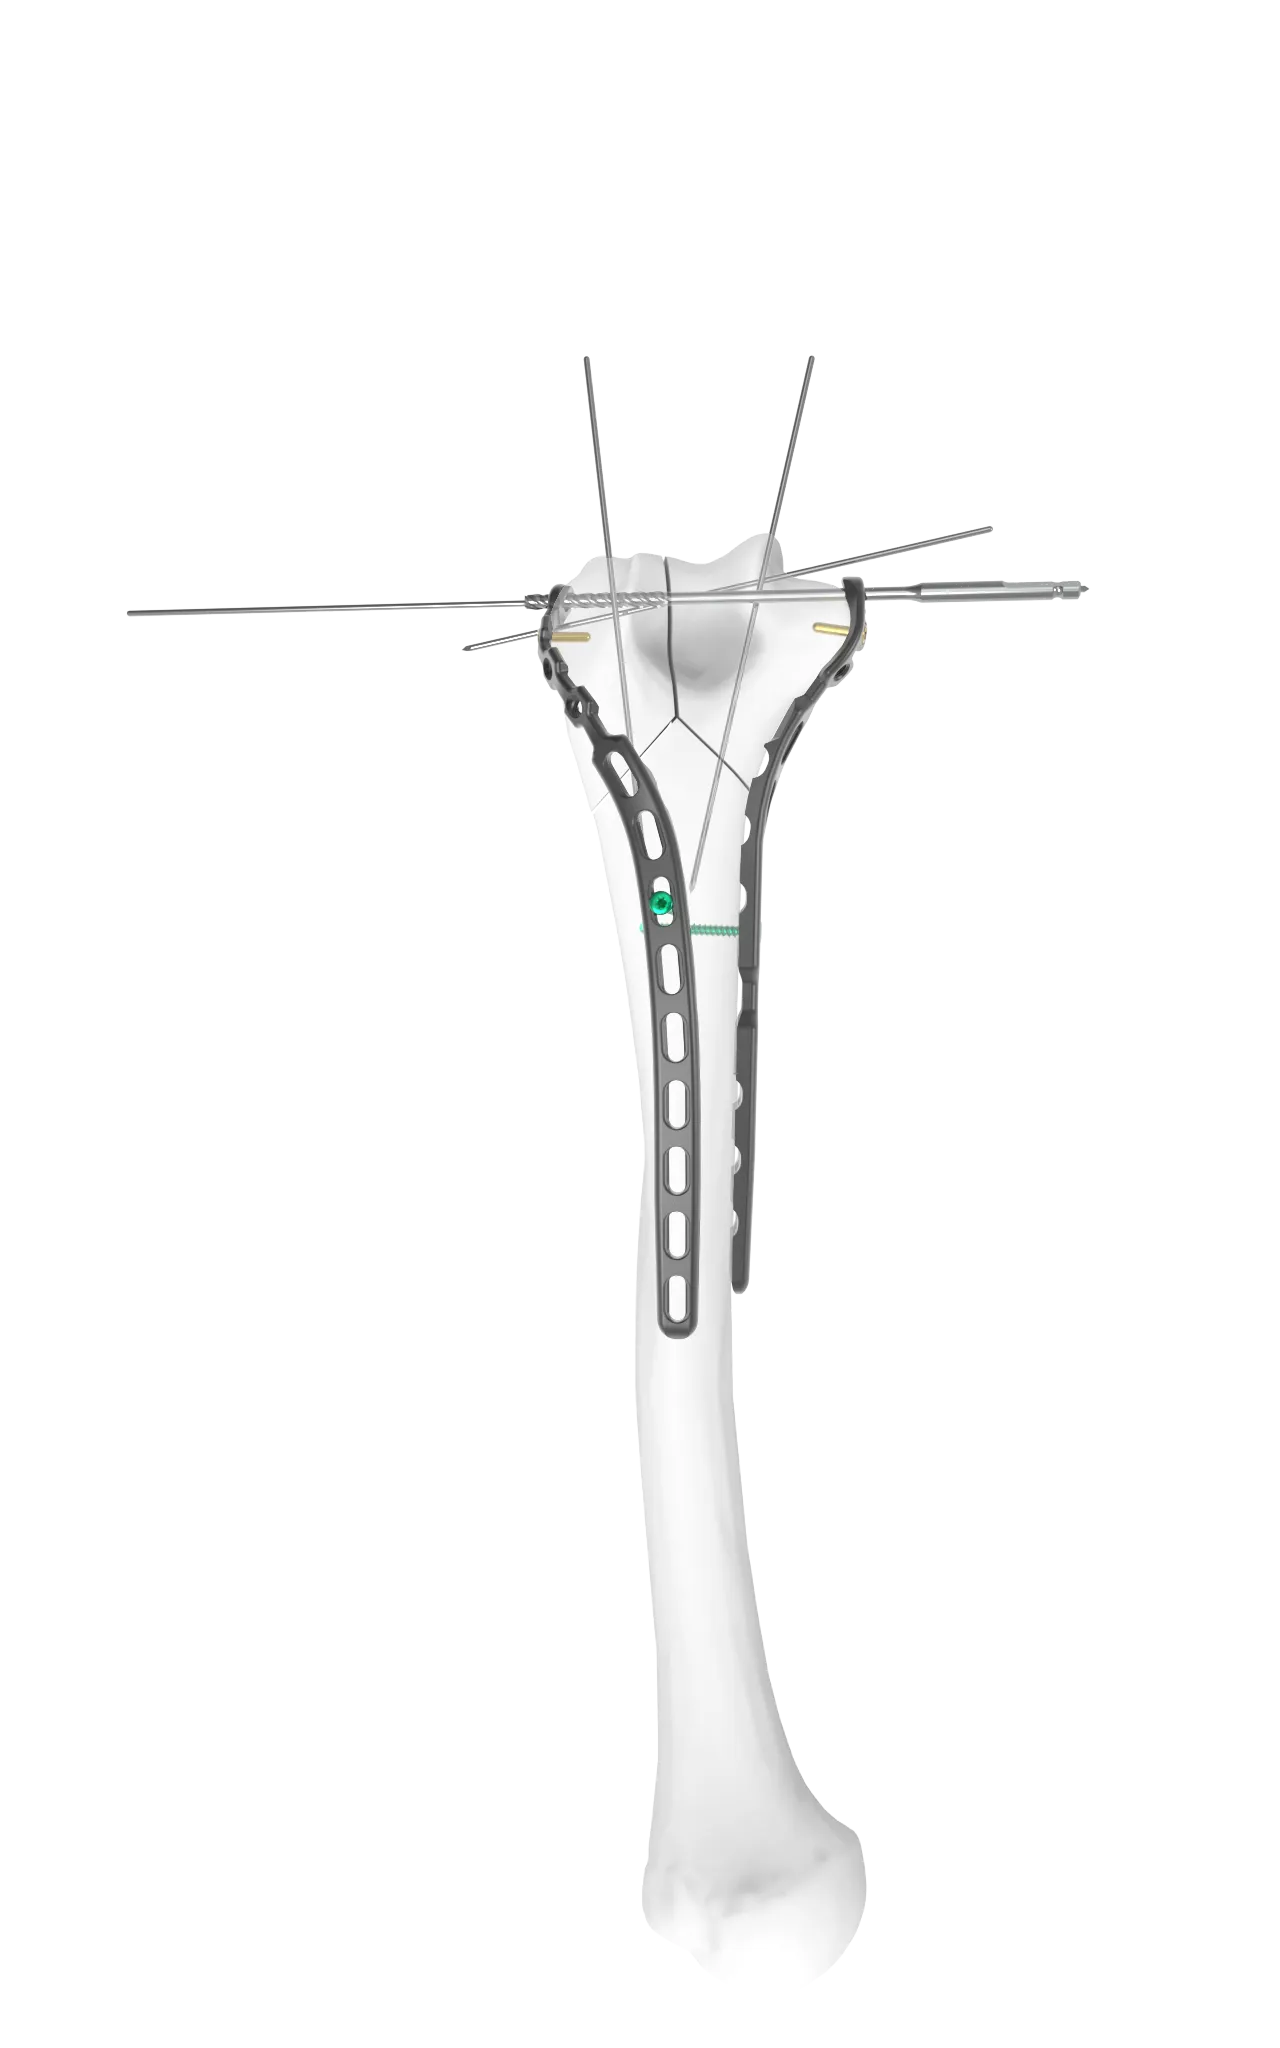
Step 2 of TiBeam® technology.

Drill through both plates with the 3.7mm cannulated drill.

Step 3 of TiBeam® technology.

Overdrill with the 4.0mm stop drill.

Step 4 of TiBeam® technology.

Use the insertion tool and T-10 driver (not pictured) to insert the female component through the plate.

Step 5 of TiBeam® technology.

Introduce male component using T-10 driver (not pictured).

Step 6 of TiBeam® technology.

Thread the male component into the female and continue advancing until the desired compression is achieved.

Distal humerus plate combinations with TiBeam® Technology

Addressing multiple fracture patterns, surgeon preference, and patient anatomy

Humeral Fixation Set Capitellar with Medial Direct Plates

Lateral Capitellar

78mm, 110mm, 142mm, 174mm

Medial Direct

79mm, 112mm, 144mm, 177mm

Humeral Fixation Set Lateral Direct with Medial Direct

Lateral Direct

93mm, 123mm

Medial Direct

79mm, 112mm, 144mm, 177mm

Humeral Fixation Set Helical with Medial Direct Plates

Lateral Helical

94mm, 124mm, 154mm, 186mm

Medial Direct

79mm, 112mm, 144mm, 177mm

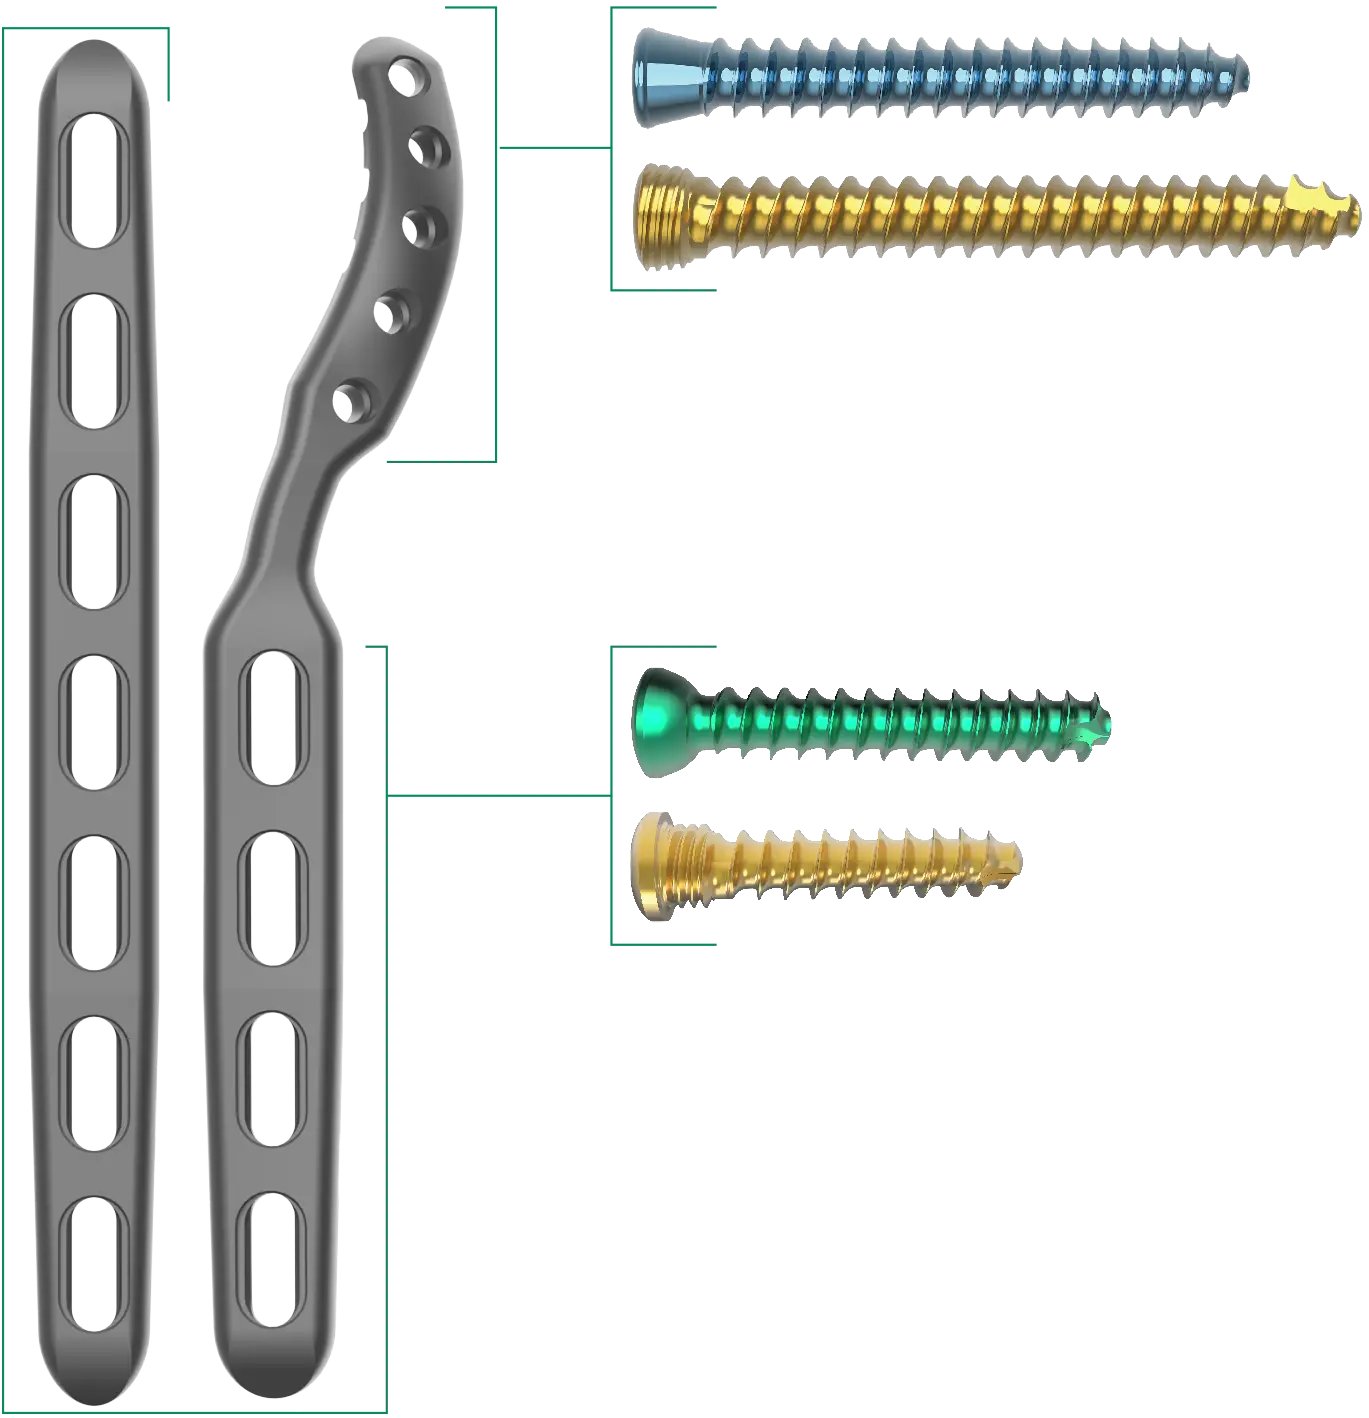
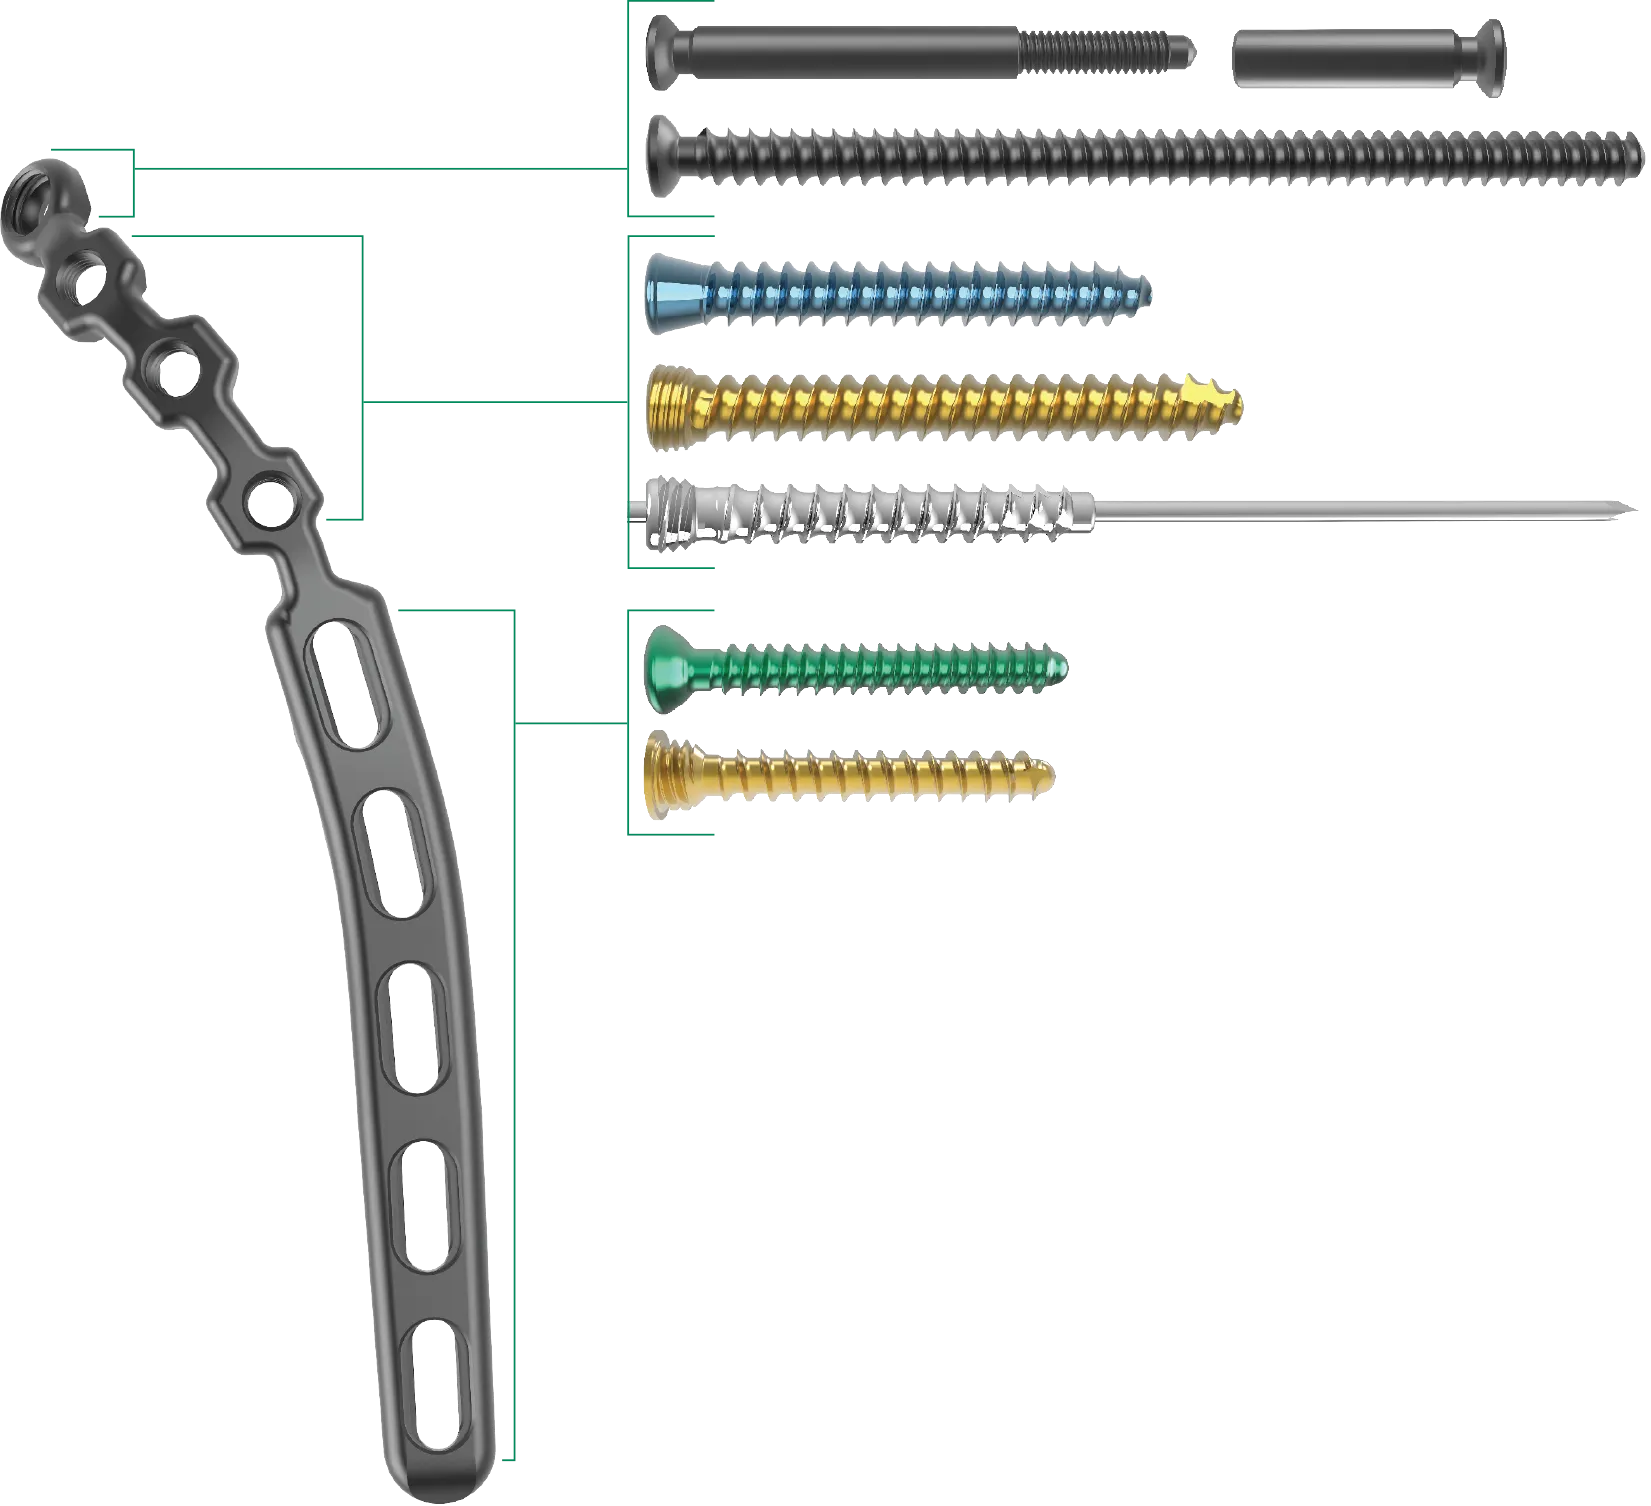
Metaphyseal and diaphyseal specific screw options

Metaphyseal and diaphyseal specific screw options

TiBeam® Male and Female: 40mm – 80mm construct lengths

1 of 7

Distal Trochlea Compression: 20mm – 80mm lengths

2 of 7

2.7mm & 3.5mm Compression: 10mm – 70mm lengths

3 of 7

2.7mm & 3.5mm Locking: 10mm – 70mm lengths

4 of 7

3.0mm Polyaxial Locking: 10mm – 70mm lengths

5 of 7

3.5mm FREEFIX® Compression: 14mm – 44mm lengths

6 of 7

3.5mm FREEFIX® Locking: 14mm – 44mm lengths

7 of 7
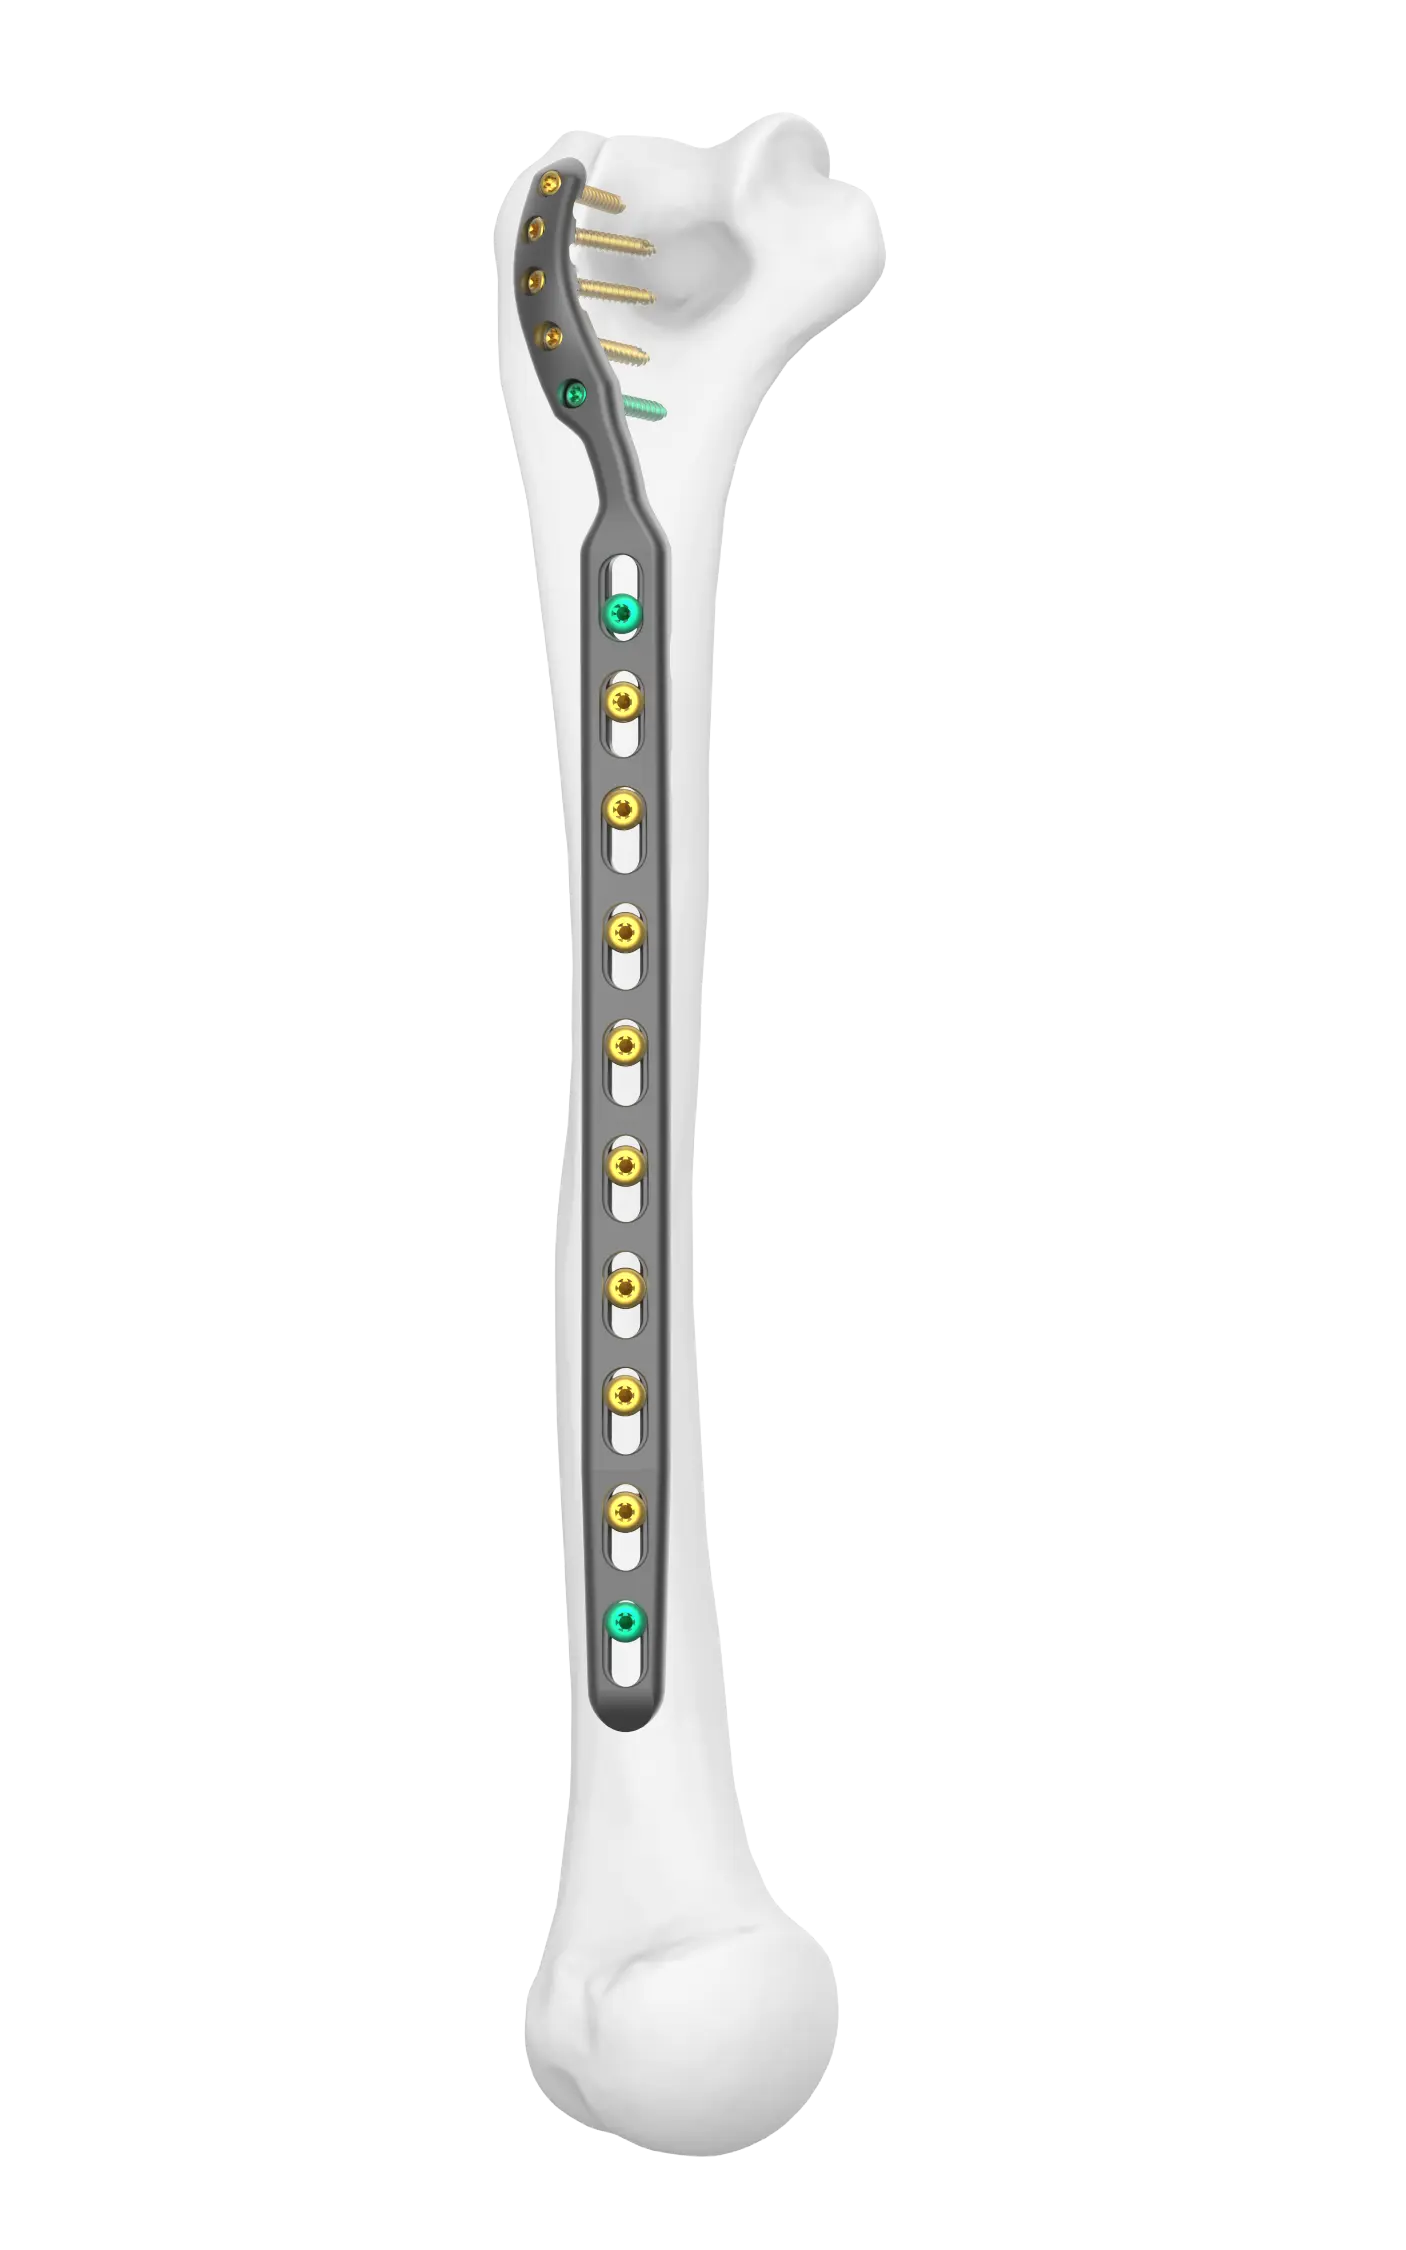
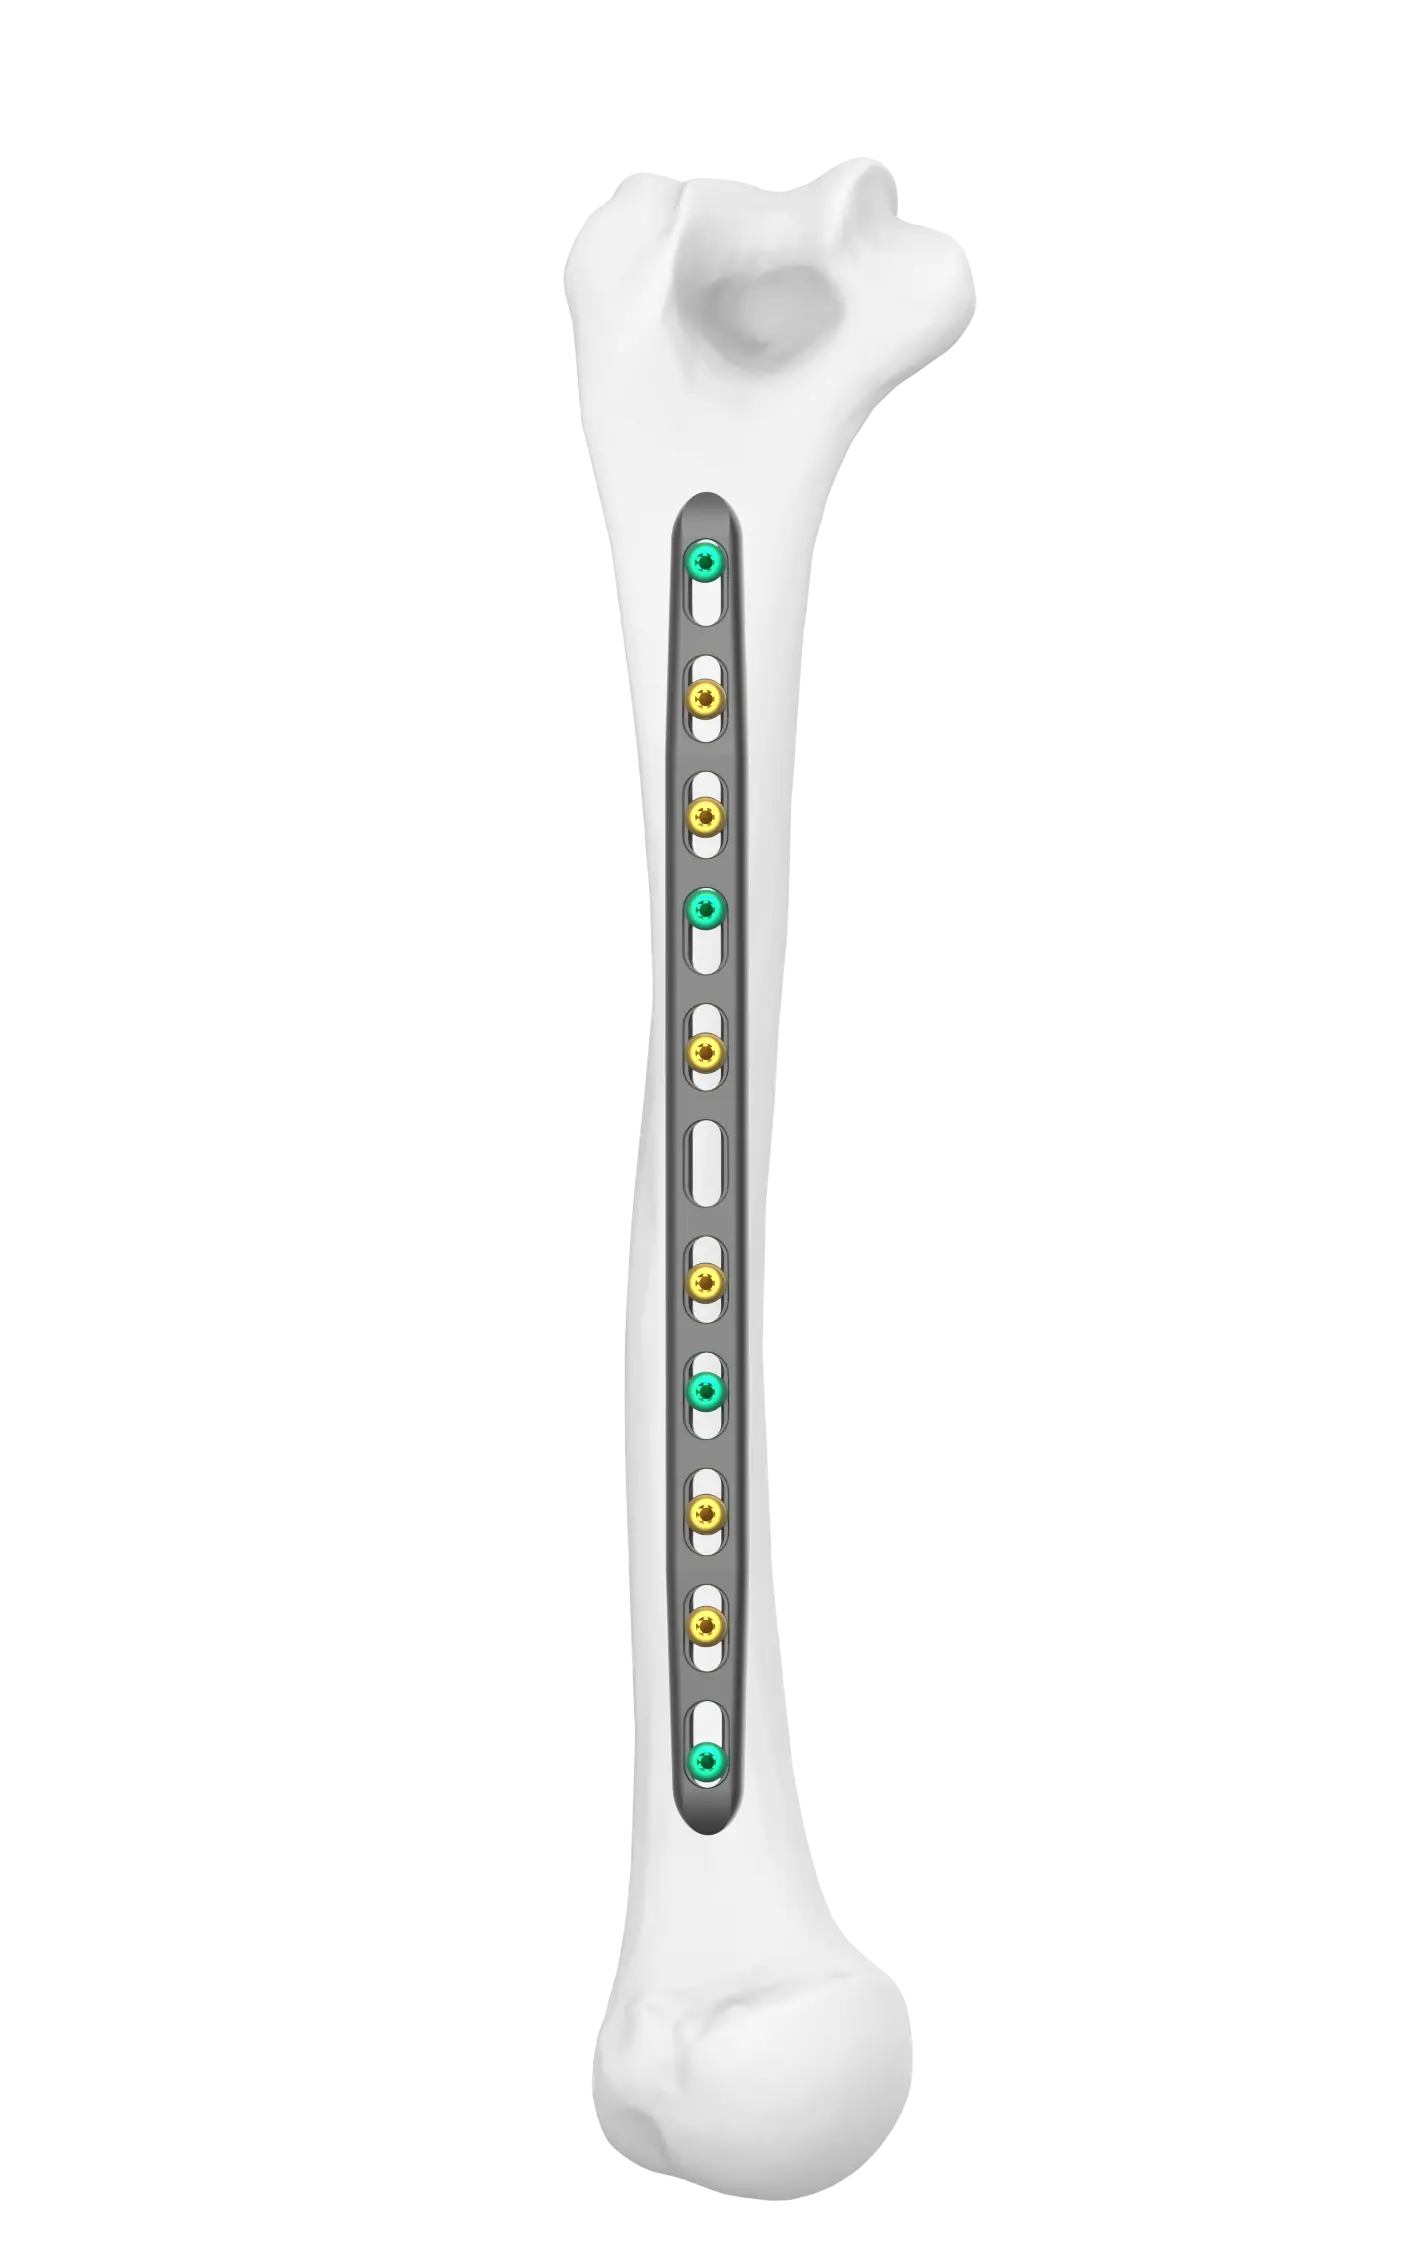
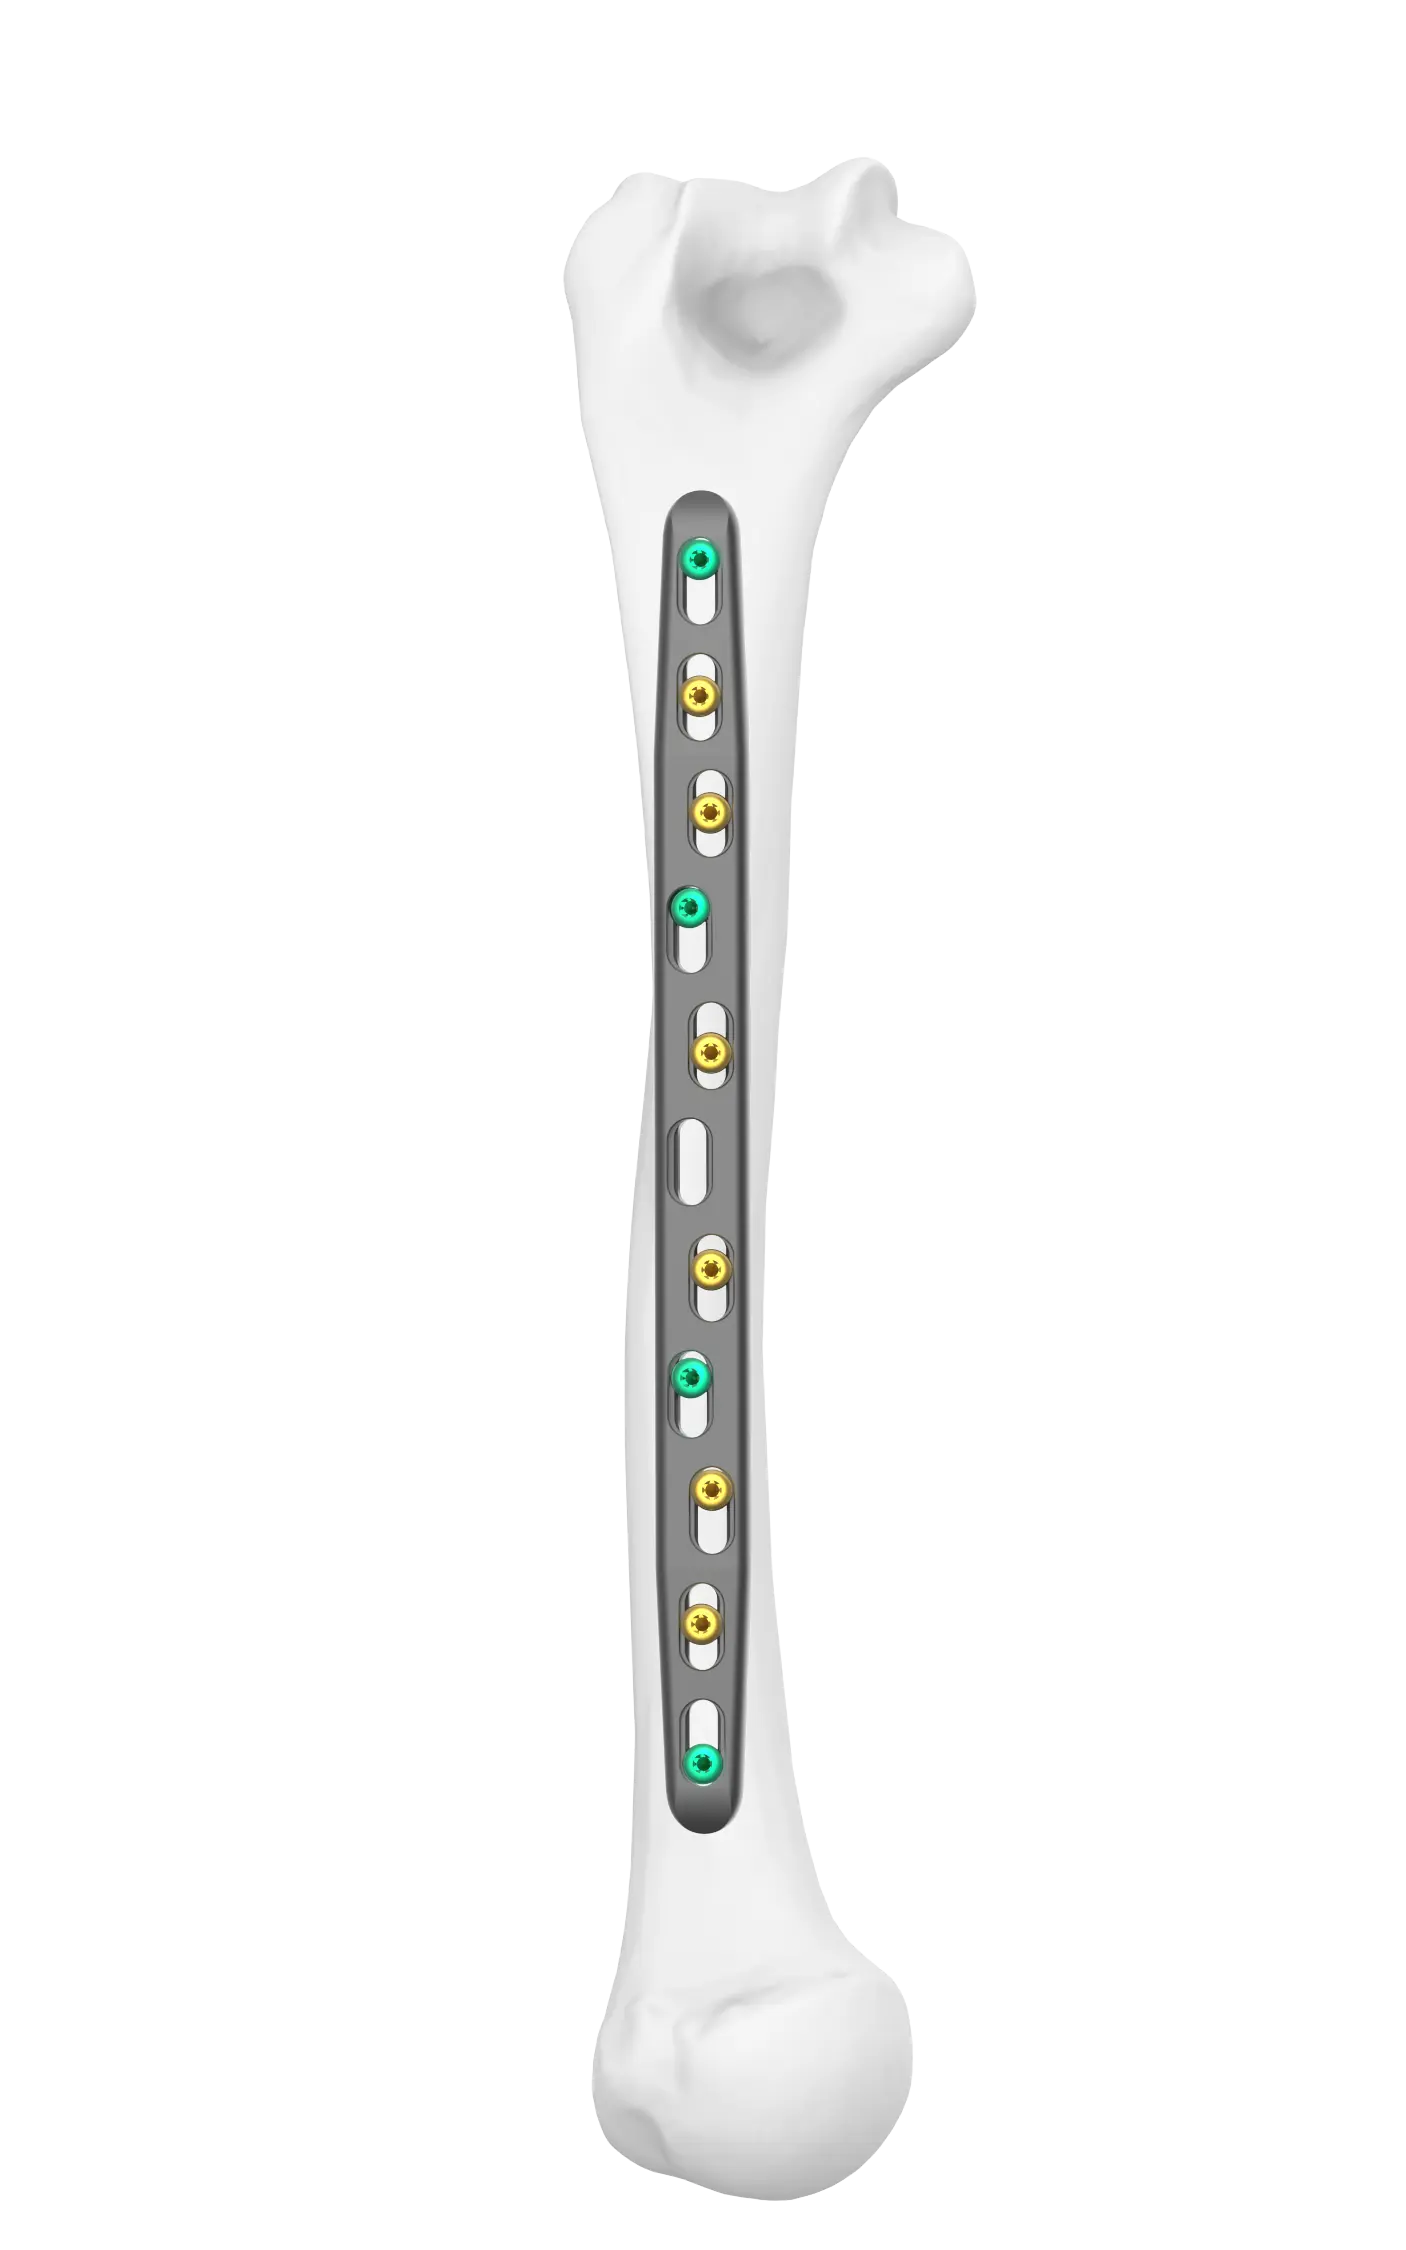
Midshaft and supracondylar options designed for maximum torsional resistance

Optimized bottom surface for wider contact area with the bone

Supracondylar FreeFix Humeral Fixation

Supracondylar

with extension for distal fractures
146mm, 185mm, 224mm, 262mm

Midshaft Narrow FreeFix Humeral Fixation

Midshaft Narrow

146mm, 185mm, 224mm, 262mm

Midshaft Broad FreeFix Humeral Fixation

Midshaft Broad

146mm, 185mm, 224mm, 262mm

Screw options for maximum fixation

Freefix Humeral Fixation System plate and screws diagram

2.7mm & 3.5mm Compression: 10mm – 70mm lengths

1 of 4

2.7mm & 3.5mm Locking: 10mm – 70mm lengths

2 of 4

4.5mm FREEFIX® Compression: 14mm – 40mm lengths

3 of 4

4.5mm FREEFIX® Locking: 14mm – 34mm lengths

4 of 4
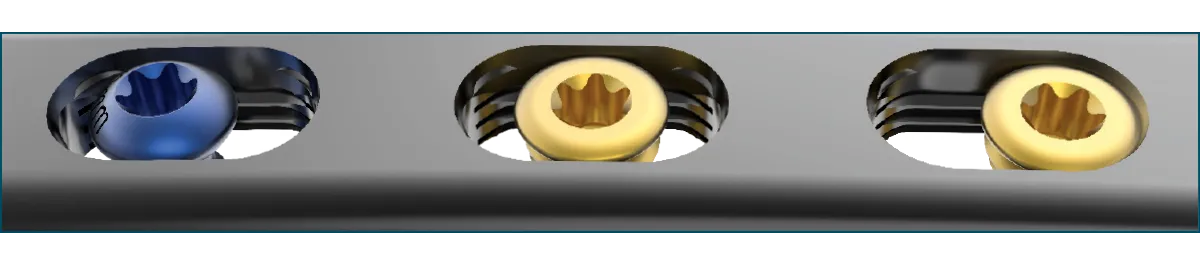
FREEFIX® technology allows the fracture to dictate screw placement

FREEFIX® technology allowing the fracture to dictate screw placement

Both compression and locking screws can be inserted in any position in FREEFIX® slots

1 of 3

Both compression and locking screws can be inserted in any position in FREEFIX® slots

2 of 3

Patented horizontal thread pattern allows dynamic compression with locking screws

3 of 3
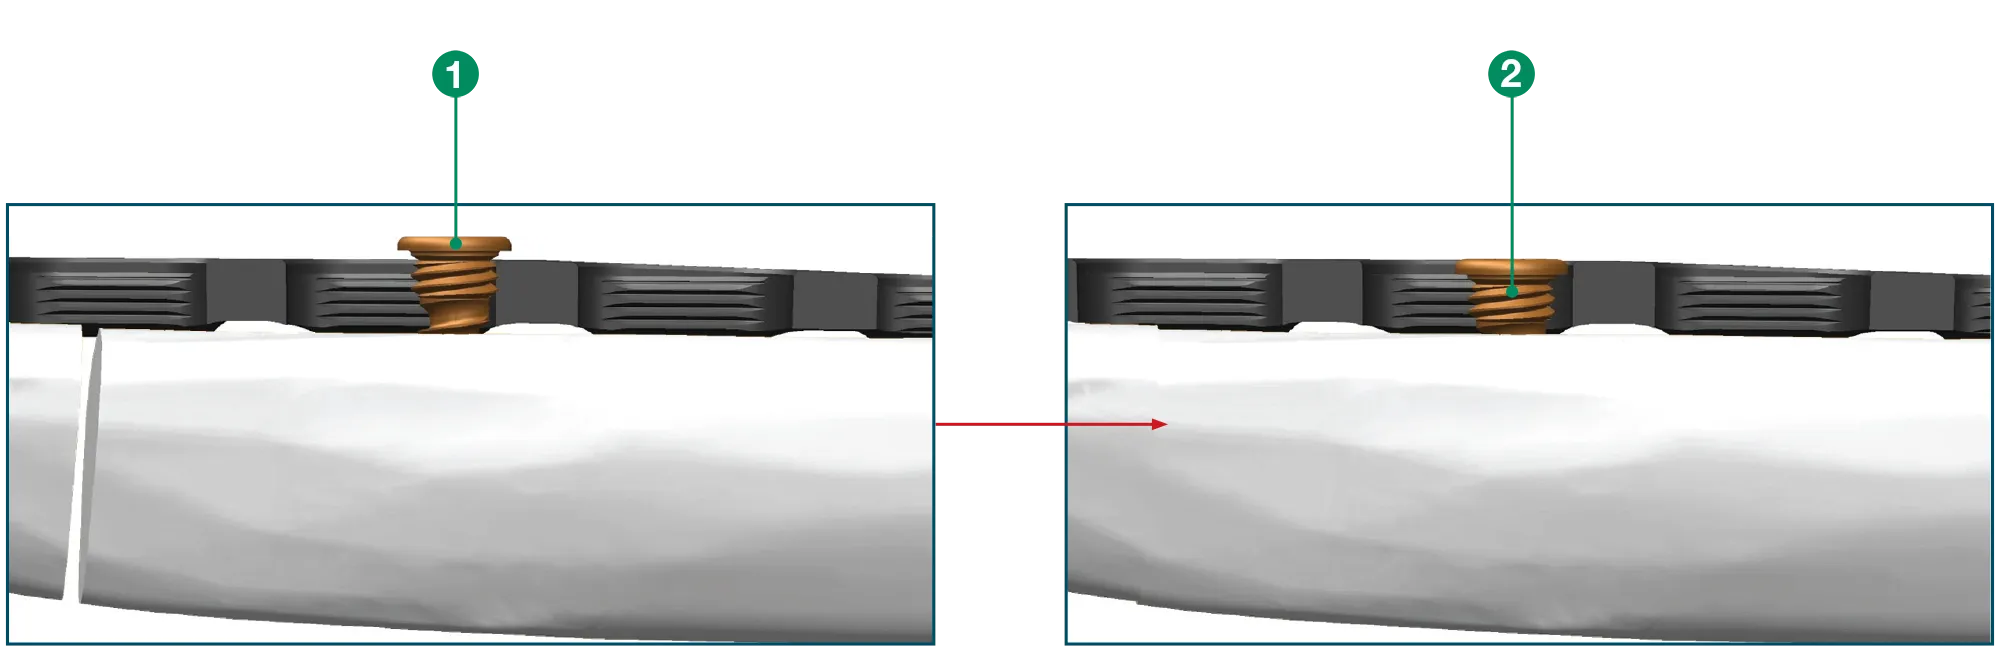

Head of the screw engages the plate, compressing the fracture and engages the locking screw.

1. Head of the eccentrically placed screw engages the plate, compressing the fracture
2. Locking screw engages the patented, horizontal threads, locking the screw into the plate

Callomimetic design mimics callus formation

Callomimetic design mimics callus formation

55-80% plate strength

1 of 3

100% plate strength

2 of 3

80-55% plate strength

3 of 3

Optimizing the olecranon osteotomy

Technology that aligns and secures the osteotomy guide diagram

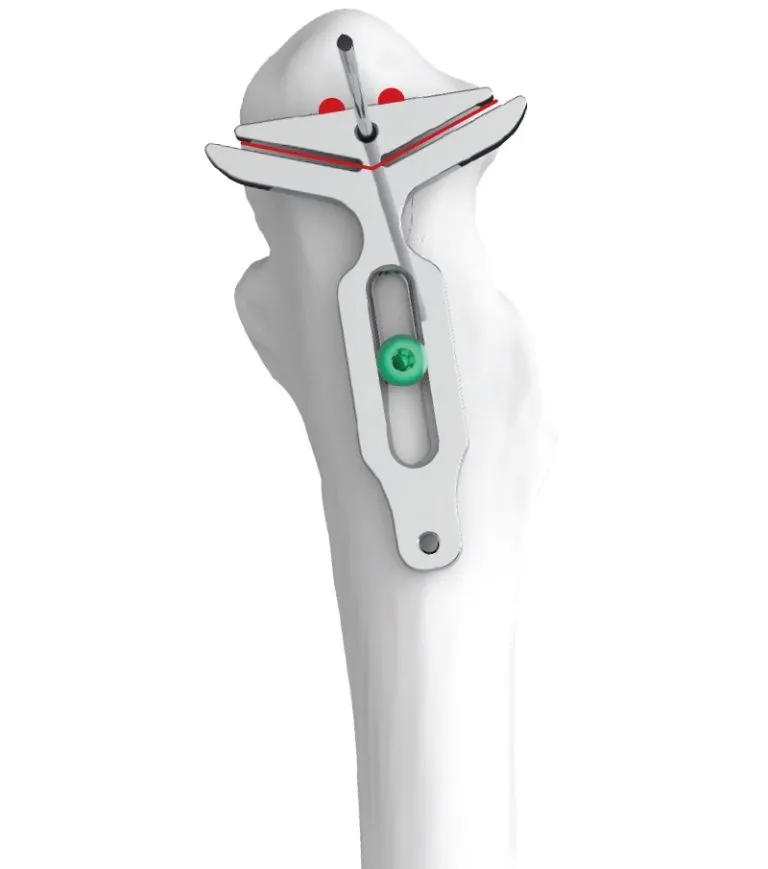
Align and secure the osteotomy guide to bisect the olecranon screw holes.

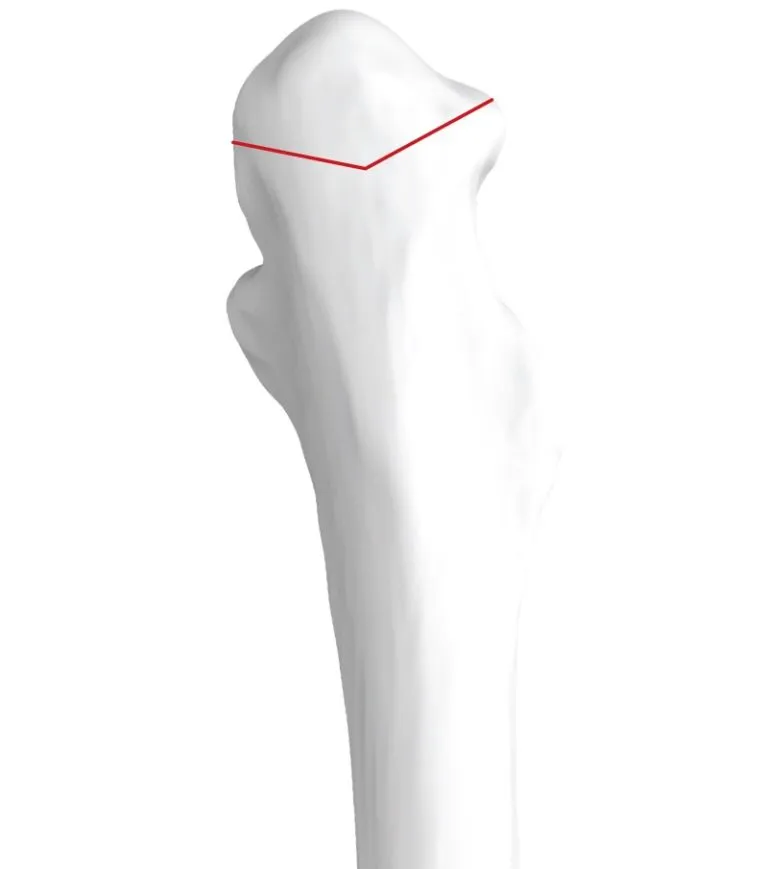
A diagram of the optimal placement of the chevron osteotomy

Optimal placement of the chevron osteotomy.

Diagram of the secure fixation at the osteotomy site via olecranon plate

Secure fixation of osteotomy site via olecranon plate, home run screw, and interfragmentary compression.

PROTEAN® fragment plates for adjunctive fixation

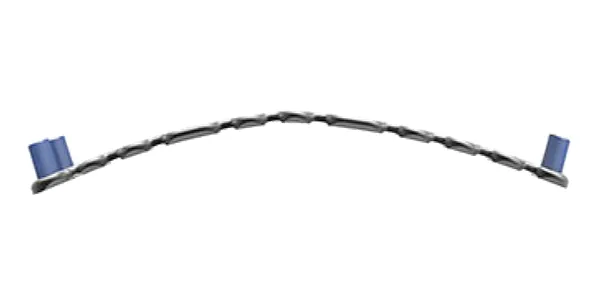
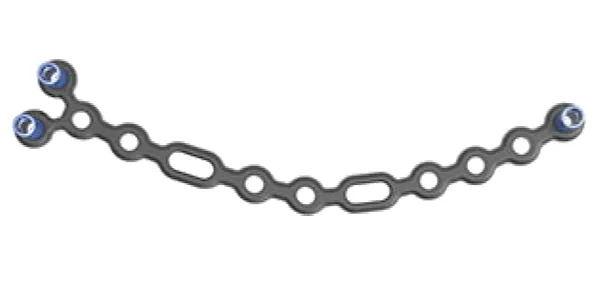
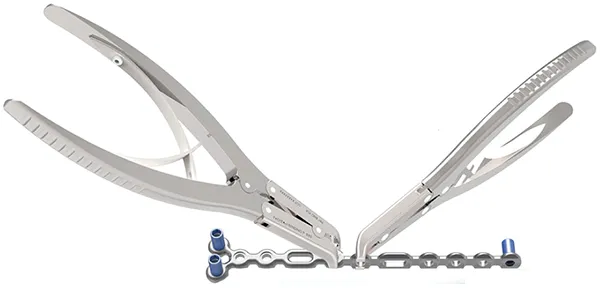
Malleable in three planes

Vertical Plane

Protean® Vertical Bend
30º Per Node

Horizontal Plane

Protean® Horizontal Bend
5º Per Node

Traverse Plane

Protean® Transverse Bend
45º Per Node
protean fragment double or double hockey stick
Double Hockey Stick
protean fragment y2 or Y – Straight
Y – Straight

360º Construct Rotation – Medial Capitellar

(Drag to rotate)

360º Construct Rotation – Medial Helix

(Drag to rotate)

360º Construct Rotation – Medial Lateral

(Drag to rotate)

360º Construct Rotation – Midshaft Broad

(Drag to rotate)

360º Construct Rotation – Midshaft Supracondylar

(Drag to rotate)